I am currently working on a hobby project where I want to translate German sentences into Bavarian using AI, for example on the website Dialektl.com. I am working with Tensorflow, an open source platform for machine learning and deep learning. Tensorflow is one of the most widely used libraries for Deep Learning because it offers a wide range of features and a very active developer community. For almost all machine learning models, the training process is extremely computationally expensive. To increase the speed of the training process, it is recommended to use the computer’s graphics card (GPU) instead of the processor (CPU).
My naive thought was that Tensorflow would automatically use the GPU. However, you first have to follow the step-by-step instructions below in order for Tensorflow to recognise and use the GPU at all.
You might also be interested in: Should I use Tensorflow.js or Tensorflow (Python)?
DISCLAIMER: As of version 2.11, Tensorflow no longer supports GPUs under Windows! Either change the operating system or downgrade Tensorflow to version 2.10. In addition, a graphics card from NVIDIA is required!
1. Checking the desired CUDA and cuDNN versions
First, you should find out which CUDA and cuDNN version you need for TensorFlow. The website lists all versions of Tensorflow and the desired CUDA versions or cuDNN versions: https://www.tensorflow.org/install/source_windows#gpu

2. Checking your own graphics card
As already mentioned in the disclaimer, the graphics card must be from NVIDIA. On the website https://developer.nvidia.com/cuda-gpus you can search for your own GPU and check the “Compute Capability”. The minimum requirement for Tensorflow is a value of 3.5, but this is fulfilled by all current graphics cards.

3. Installing the latest NVIDIA drivers
To enable the GPU for TensorFlow, the latest NVIDIA drivers must be installed. Simply go to the NVIDIA website and download the latest driver for your graphics card.
4. Install Visual Studio (optional)
In TensorFlow, some parts of the library have been written in C++ to maximise performance. Therefore, installing Visual Studio can help improve the compatibility and performance of TensorFlow: https://visualstudio.microsoft.com/de/vs/

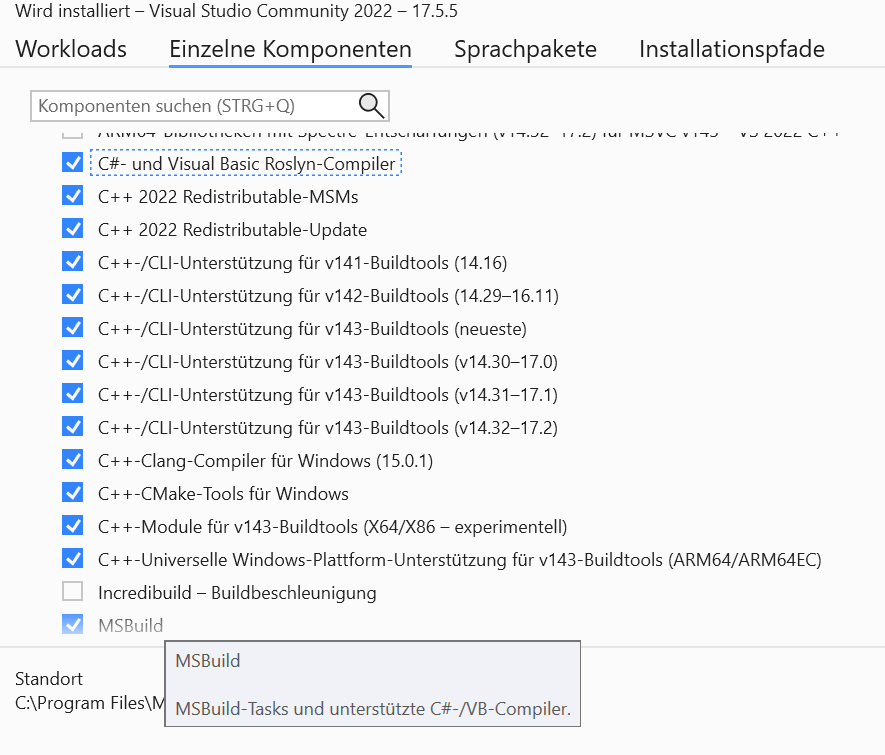
It is sufficient to select individual components here. I have selected everything with C++ in “Compiler, Buildtools and Runtimes” and also MS Build, which in turn automatically installs a few more components. All in all, however, over 25 GB!
5. Install CUDA Toolkit
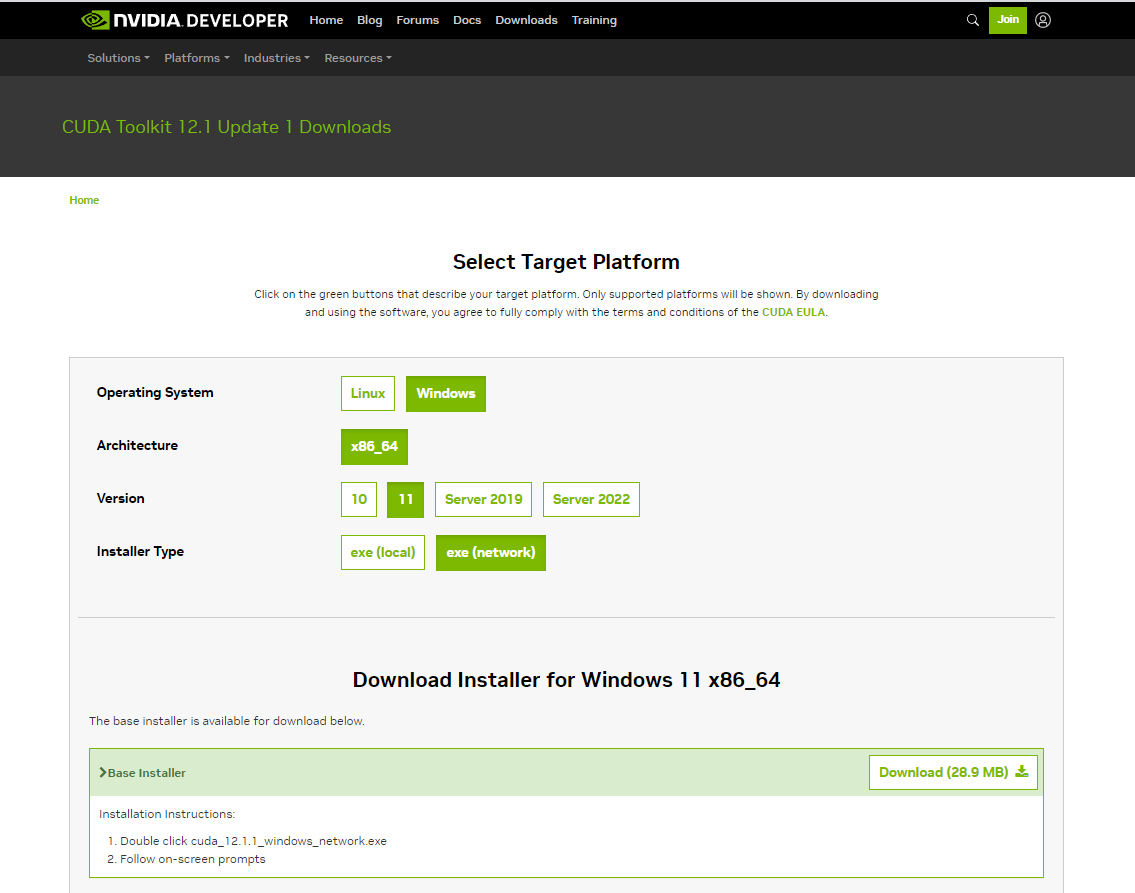
The CUDA Toolkit is a toolkit for CUDA application development provided by NVIDIA. TensorFlow requires CUDA to run on the GPU. Simply download and install the version of the CUDA toolkit requested in step 1 from the NVIDIA website: https://developer.nvidia.com/cuda-downloads
6. Installing the cuDNN libraries
cuDNN is a library of deep learning primitives provided by NVIDIA. TensorFlow also requires cuDNN to run on the GPU. cuDNN is free, but you have to create an account as NVIDIA Developer: https://developer.nvidia.com/rdp/cudnn-download

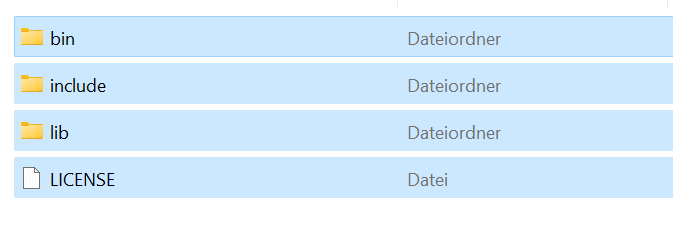
After the download, the content must be unpacked. The content is moved to the “NVIDIA GPU Computing Toolkit” in the “Programs” folder. After moving, copy the file path of the “bin” folder.
7. Set PATH variable
Open the environment variables by simply typing the term into the Windows search. Then edit the system variable “path” and add a new entry with the file path of the “bin” folder from the previous step.

8. Creating a virtual environment
It is recommended to install TensorFlow in a virtual environment to avoid conflicts with other Python packages. Ideally using Anaconda. Simply download and install here: https://www.anaconda.com/download
Then start the Anaconda Navigator. Create a new environment under Environments > Create. Then click on Home again and launch an existing Python IDE from here. Additional IDEs such as PyCharm should also be automatically displayed here after the download.
9. Verify Tensorflow GPU support
To check whether the TensorFlow GPU support was successfully detected, the Tensorflow package should first be installed in the Python IDE. But note that under Windows the GPU is only recognised up to version 2.10! In the following versions it is no longer recognised! Tensorflow 2.10 must therefore be installed.
Then run the following code to display a list of available GPUs:
import tensorflow as tf

tf.config.list_physical_devices('GPU')



One thought on “Enable TensorFlow GPU under Windows”