We explained in the last post how to integrate Google Maps in a Xamarin Forms application. In this post we make a further step an show you how to change the standard Google Maps marker pin to custom icon pins in Google Maps.
List of components
- Visual Studio (free)
Setting a pin on the Google Map an choose a starting point
Let’s start to put a few markers on the map. The code is pretty simple. In the “MainPage.xaml.cs” include the following using directive:
using Xamarin.Forms.GoogleMaps;
Then create a pin with position and label:
Pin one = new Pin ()
{
    Label = "Pin ONE",
    Position = new position (48.1390196, 11.5744422)
};
MyMap.Pins.Add (one);
“MyMap” is the name we have set in the “MainPage.xaml”.
The following code can be used to ensure that the map always opens at a specific starting point:
MyMap.MoveToRegion (MapSpan.FromCenterAndRadius (new Position (48.1390196, 11.5744422), Distance.FromKilometers (10)));And this is how the app looks now:

Add new icons
I downloaded two alternative icons in order to replace the red Google standard pins. I have the “castle.png” and “beer.png” icon from the website icons8.com.
For iOS, we simply drag the two icons to the “Resources” folder in the iOS project. It should look like this:
![]()
For Android we drag the icons to the “drawable” folder under “Resources” in the Android project. For me it is unfortunately always the case that the “drawable” folder has to be created manually. Although, it is displayed normally in the Visual Studio folder structure, it actually doesn’t really exist if you search the folder on your computer. So create a new folder, where the really “drawable” folder should be and name it “drawable”. Restart Visual Studio and then add the two icons. It looks like this:
![]()
Extra step for Android users: Create a Bitmap class
iOS has a clear advantage here. You don’t have to do anything for Apple phones. iOS automatically renders the icons from the “Resources” folder. For Android, however, you have one extra step, but you are almost there.
Create a class in the ANDROID project, name it “BitmapConfig.cs” and copy the following code:
using DemoGoogleMapApp.Droid;
using Xamarin.Forms.GoogleMaps;
using Xamarin.Forms.GoogleMaps.Android.Factories;
using AndroidBitmapDescriptor = Android.Gms.Maps.Model.BitmapDescriptor;
using AndroidBitmapDescriptorFactory = Android.Gms.Maps.Model.BitmapDescriptorFactory;

public sealed class BitmapConfig : IBitmapDescriptorFactory
{
    public AndroidBitmapDescriptor ToNative(BitmapDescriptor descriptor)
    {
        int iconId = 0;
        switch (descriptor.Id)
        {
            case "castle":
                iconId = Resource.Drawable.castle;
                break;
            case "beer":
                iconId = Resource.Drawable.beer;
                break;
        }
        return AndroidBitmapDescriptorFactory.FromResource(iconId);
    }
}

You can create an extra case for each icon. We can then assign a case name to each pin on the map.
In the “MainActivity.cs” the Google Maps initialization also has to be changed a little bit. Add the following using directive and the new initialization code.
Using directive:
using Xamarin.Forms.GoogleMaps.Android
Initialization code:
var platformConfig = new PlatformConfig
{
    BitmapDescriptorFactory = new BitmapConfig()
};
Xamarin.FormsGoogleMaps.Init(this, savedInstanceState, platformConfig);
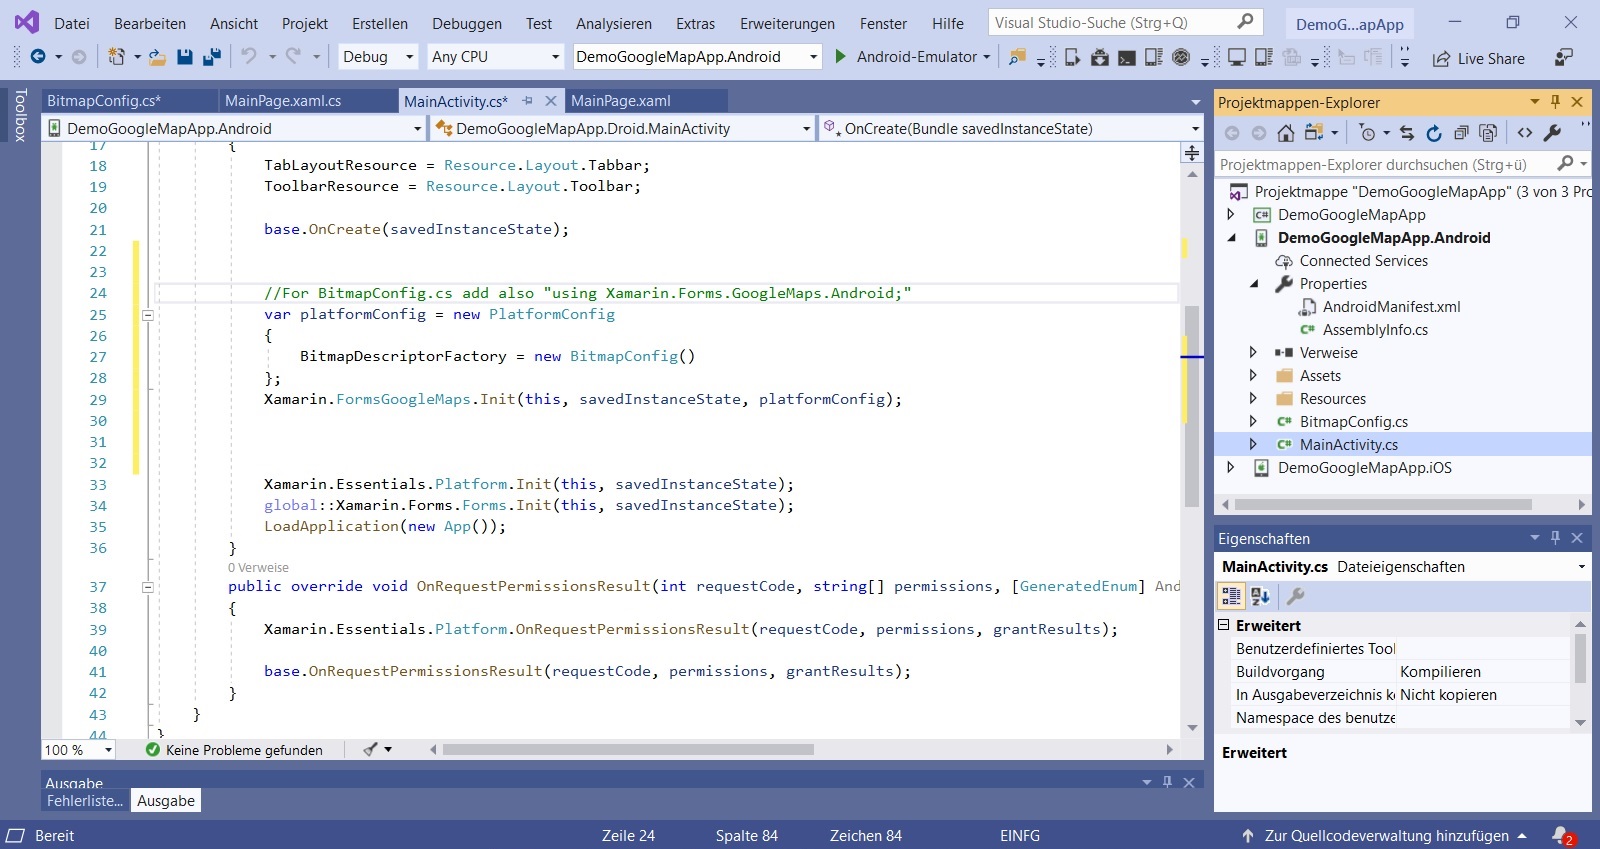
I got the idea for the “BitmapConfig.cs” from this post.
Last step: Add the custom icon pins in Google Maps app
From now on you can easily set the icon image for each pin on the Google Map:
Pin one = new Pin()
{
    Label="Pin ONE",
    Position= new Position(48.1390196, 11.5744422),
    Icon= BitmapDescriptorFactory.FromBundle("beer"),
    Type = PinType.Place
};
Each icon can be used as a Google Maps Pin with the following assignment:
Icon = BitmapDescriptorFactory.FromBundle ("NameOfTheCase")
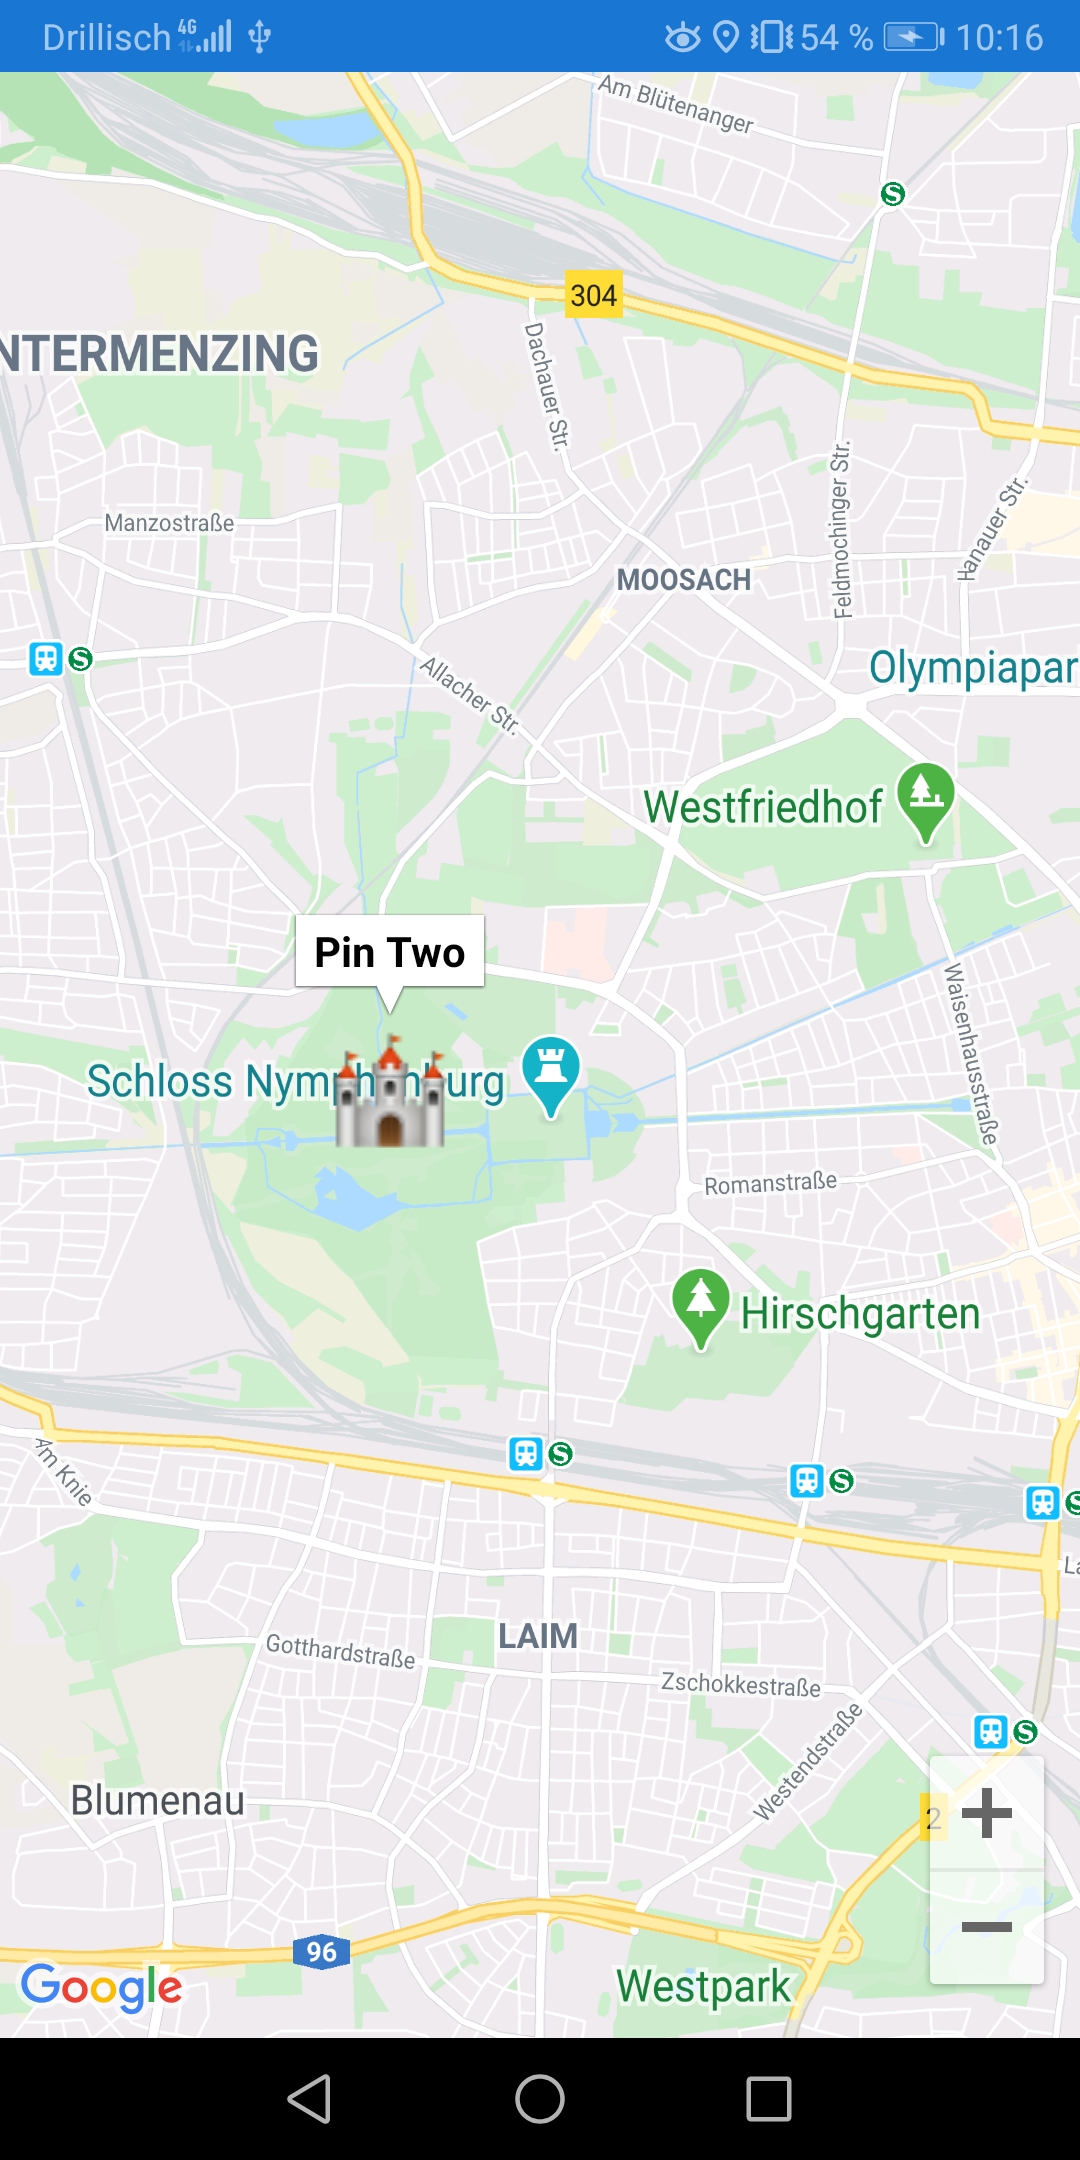
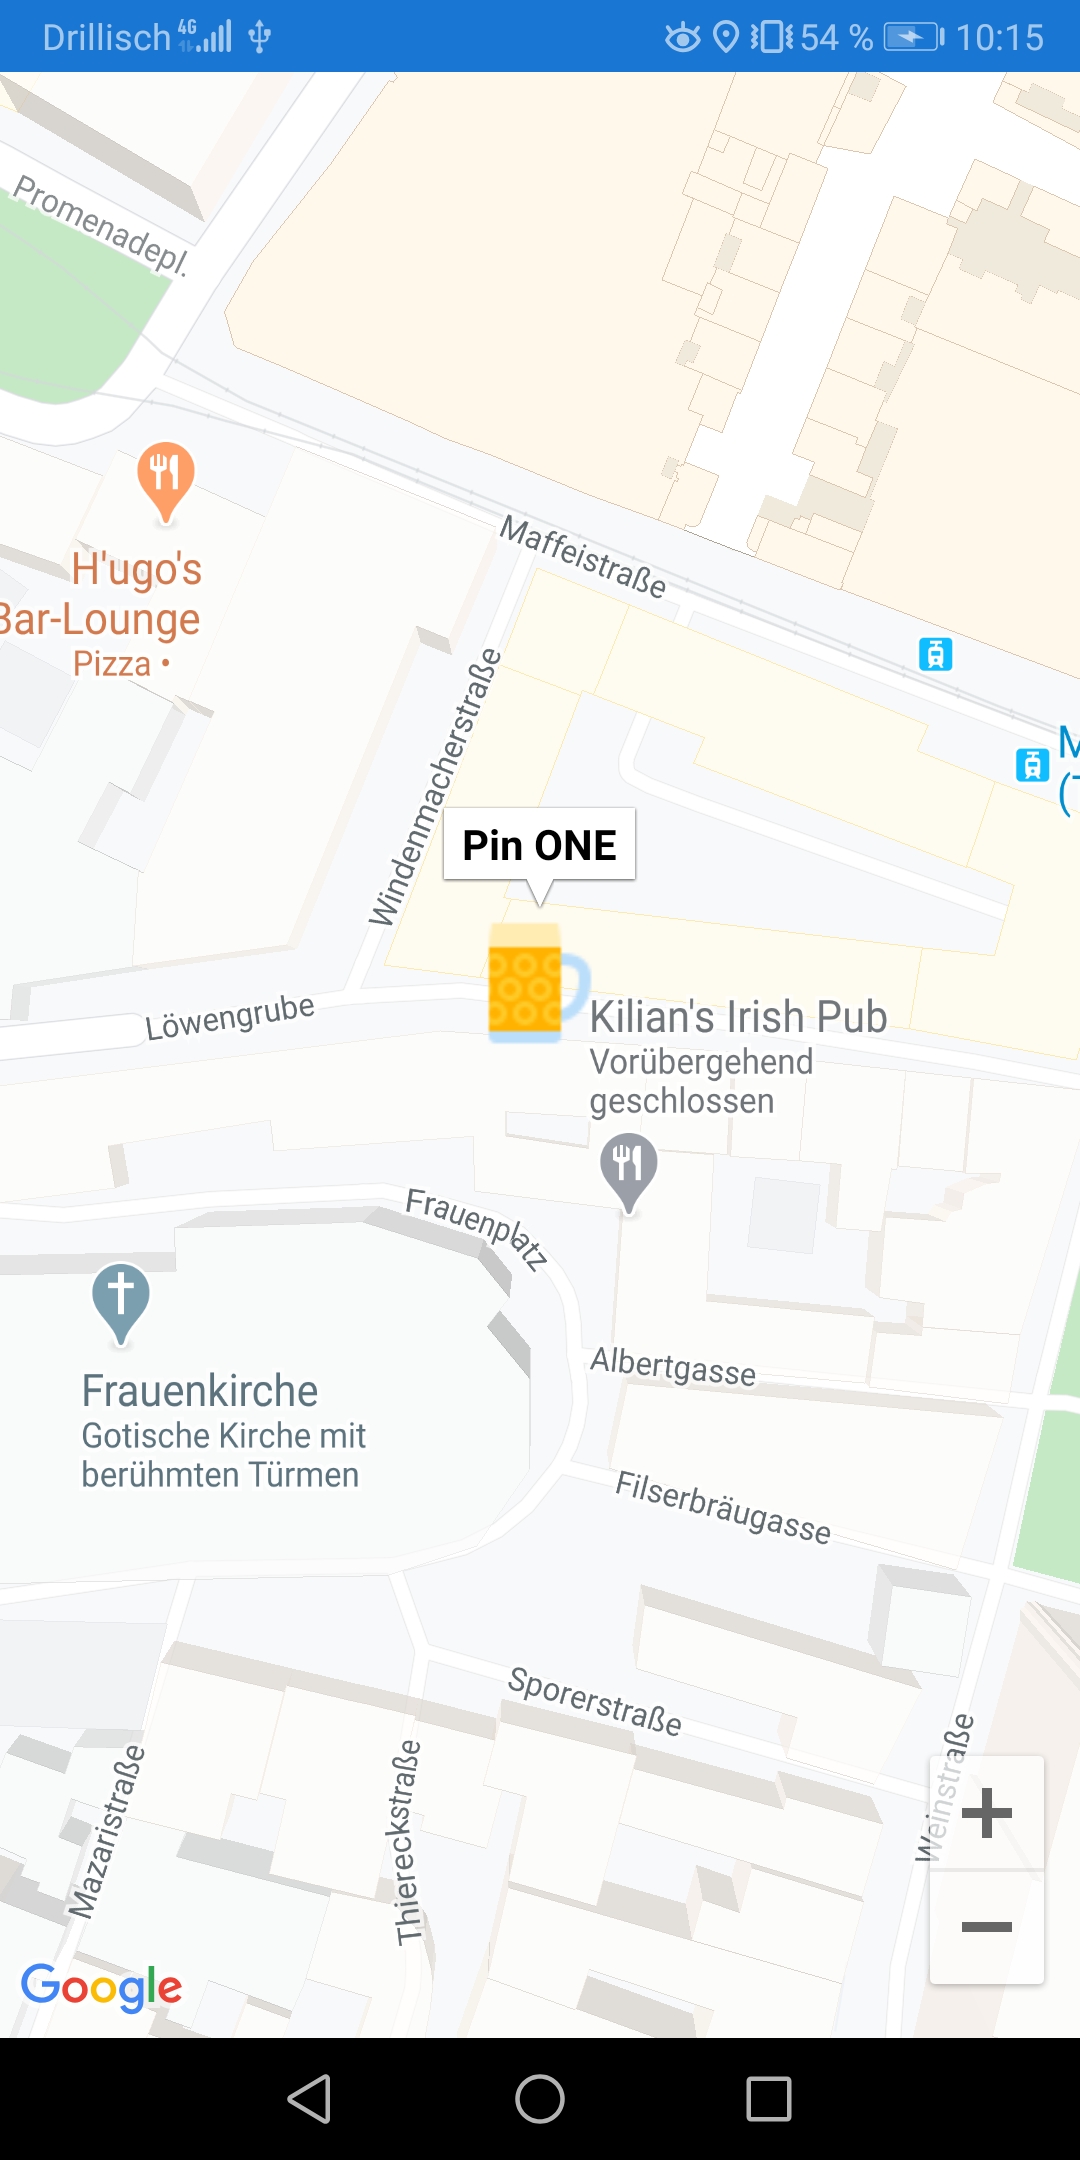
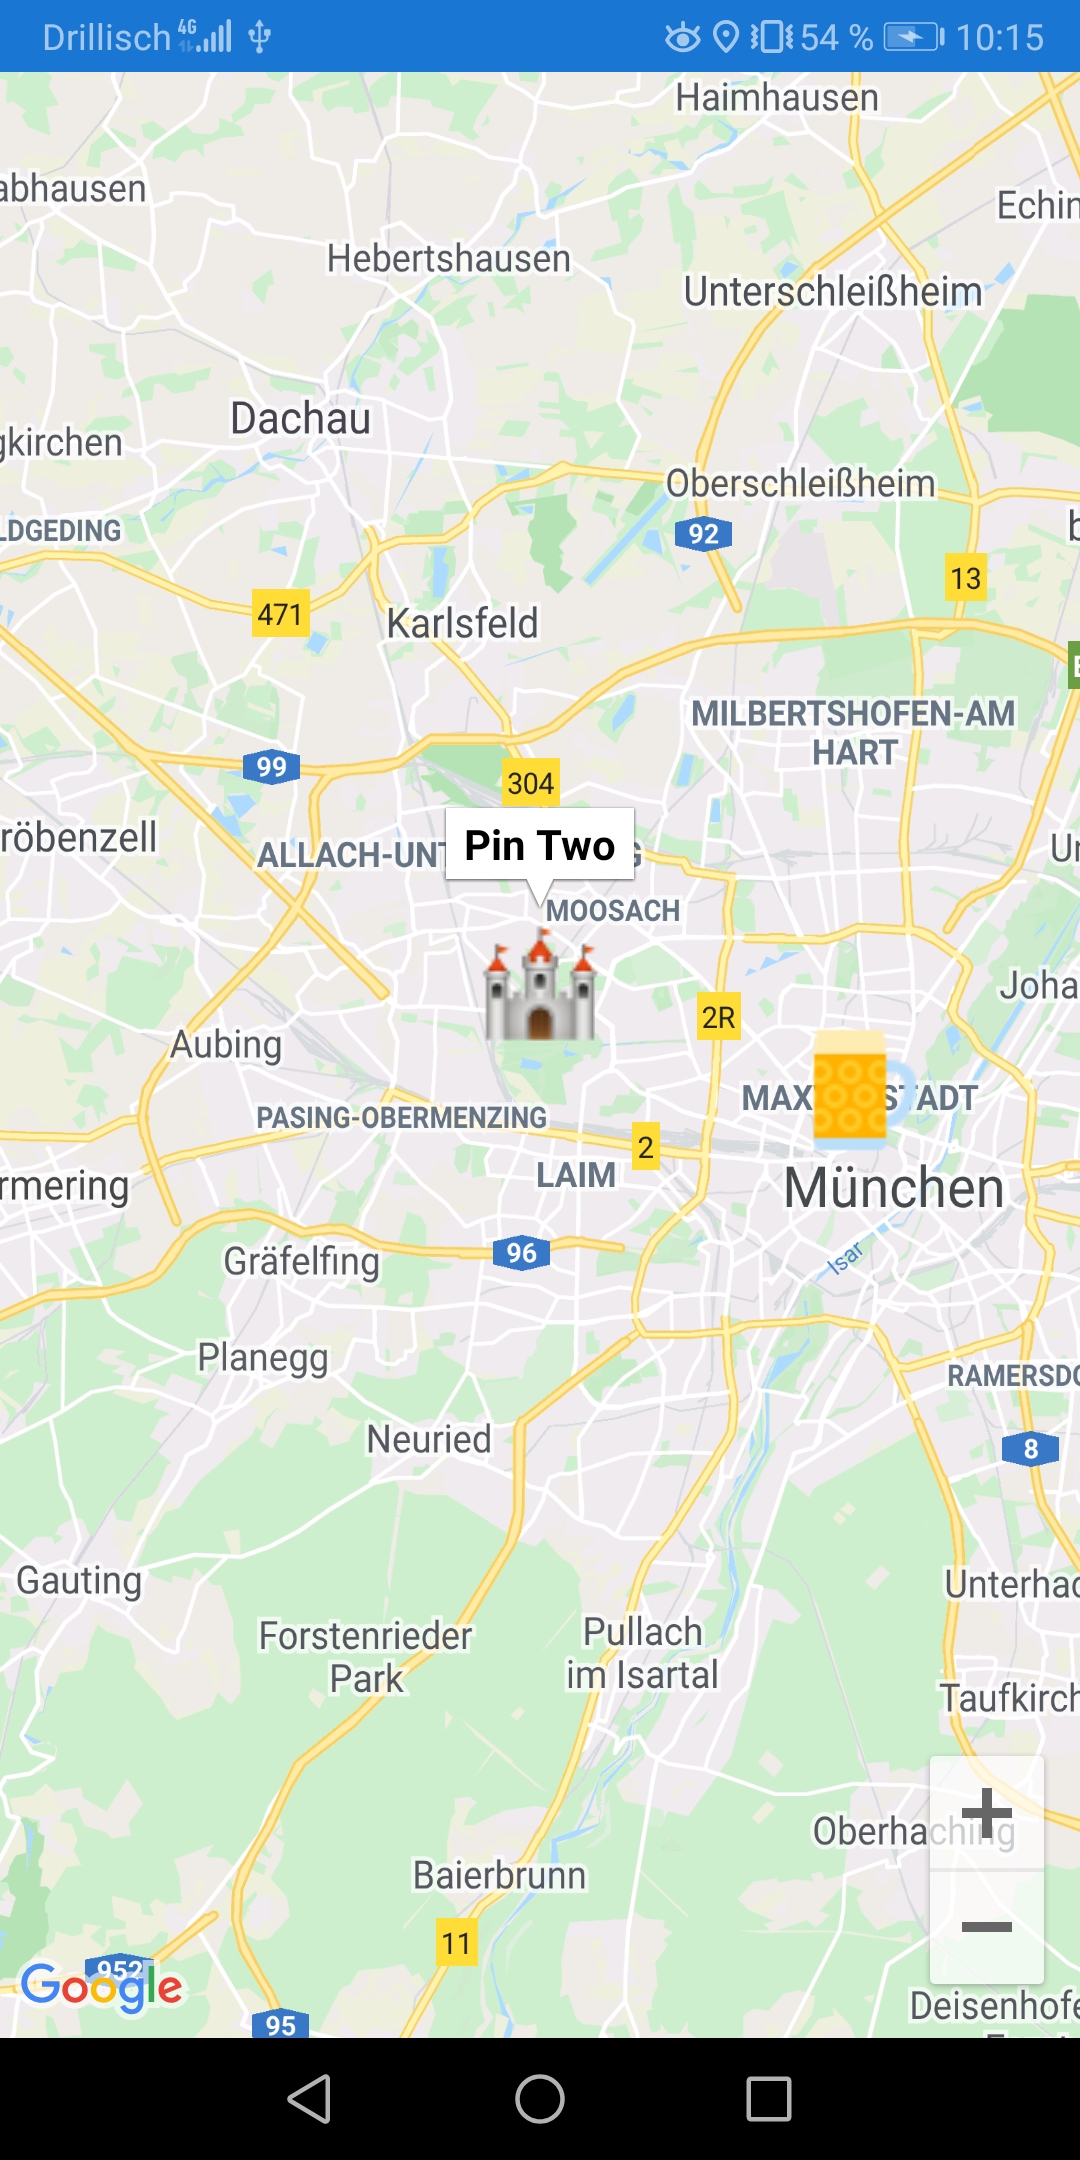
Screenshots of the custom icon pins in Google Maps app

Download files
- Source Code Xamarin Forms Google Maps App with custom icon
- Icons
- BitmapConfig.cs AndroidManifest.xml MainActivity.cs
Please don’t forget to insert your Google Maps API Key in the source code.


Hello,
Great job, but do you have any idea about how to add a simple text to the icon ?
Like “1”,”2″ and so on.
Great, but how will it work on iOS with the same shared code?