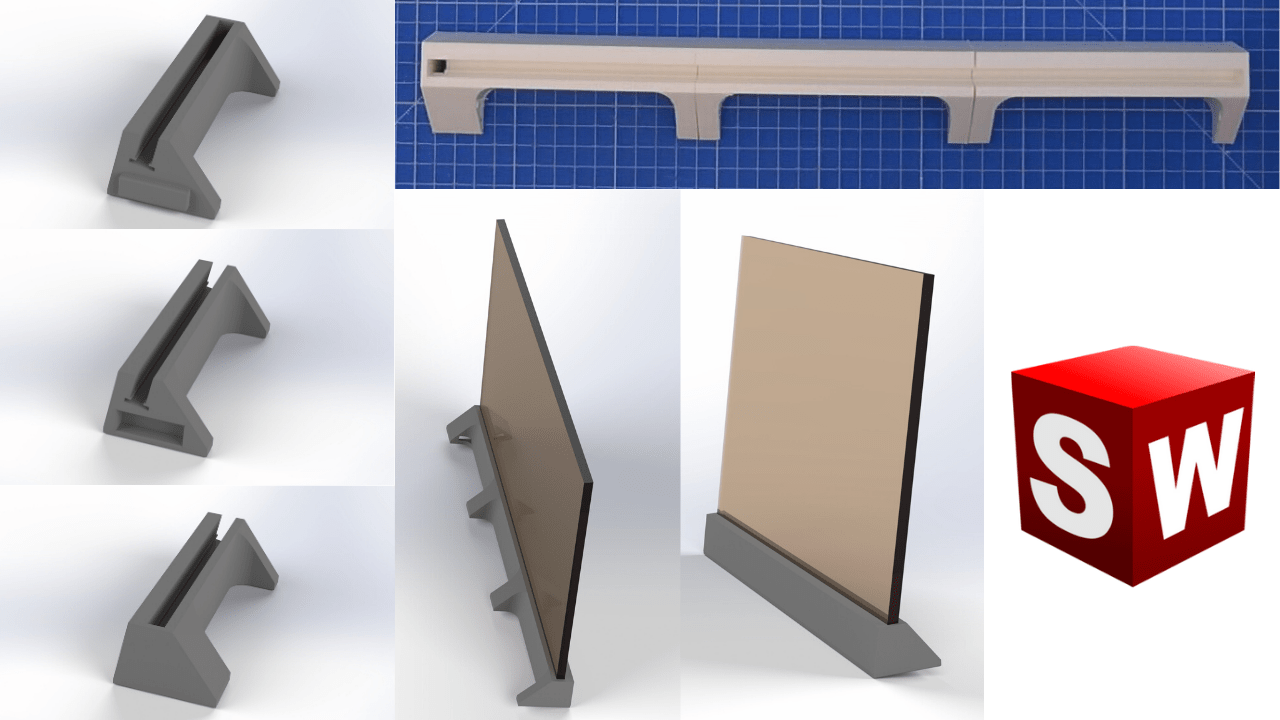
SolidWorks is a three-dimensional CAD program. CAD means “computer aided design”. The SolidWorks software can be used to develop a model and simulate how it works. There are already some tutorials on the Internet. Unfortunately, their models are often not feasible in production or are never really “brought to life” for various reasons. However, we have made a firm commitment to really create each of our designs with a 3D printer to demonstrate that our components actually work. This SolidWorks Tutorial stand design and 3D print is easy to follow and good for learning.
My girlfriend and I collected a magnet from every vacation spot. In the post “How to transform old PC screen to beautiful magnetic wall” I gave my girlfriend a magnet board as a Christmas present. This was built from an old LCD screen. The stand of the magnetic board was designed in SolidWorks. The following steps show exactly how to recreate this stand construction.
Click here if you want to see the 3D print time lapse.
Step 1 – Designing the middle part
We divide the SolidWorks Tutorial stand design into 3 parts and plug them together to form a strip. If we would design the stand as a long, single piece, it would be too large for the 3D printer and could therefore not be realized.
It is advisable to start with the middle piece. After the construction of the middle piece we save it and can then use it as a template for the left and right pieces of the stand. The left and right part only needs to be slightly modified.
Step 2 – Designing the right part
As mentioned in the first step, the file of the centerpiece can be loaded here and only needs to be modified slightly.
Step 3 – Designing the left part
Here the middle piece can also serve as a template and only needs to be slightly modified. In addition, a few recesses are added for the electronics.
Optional: Step 4 – Assemble all parts together in SolidWorks
For our purpose, it is not necessary to put the individual pieces together in SolidWorks. But it is definitely a good practice for our Solid Works: Design stand tutorial!
Step 5 – Slicing with Cura and 3D printing the parts
After the work is done, you want to hold the result in your hands. Therefore, the following video shows how to print out the designed component.


Admiring the persistence you put into your blog and detailed information you offer. It’s awesome to come across a blog every once in a while that isn’t the same out of date rehashed information. Fantastic read! I’ve bookmarked your site and I’m including your RSS feeds to my Google account.
Wonderful blog! I found it while searching on Yahoo News.