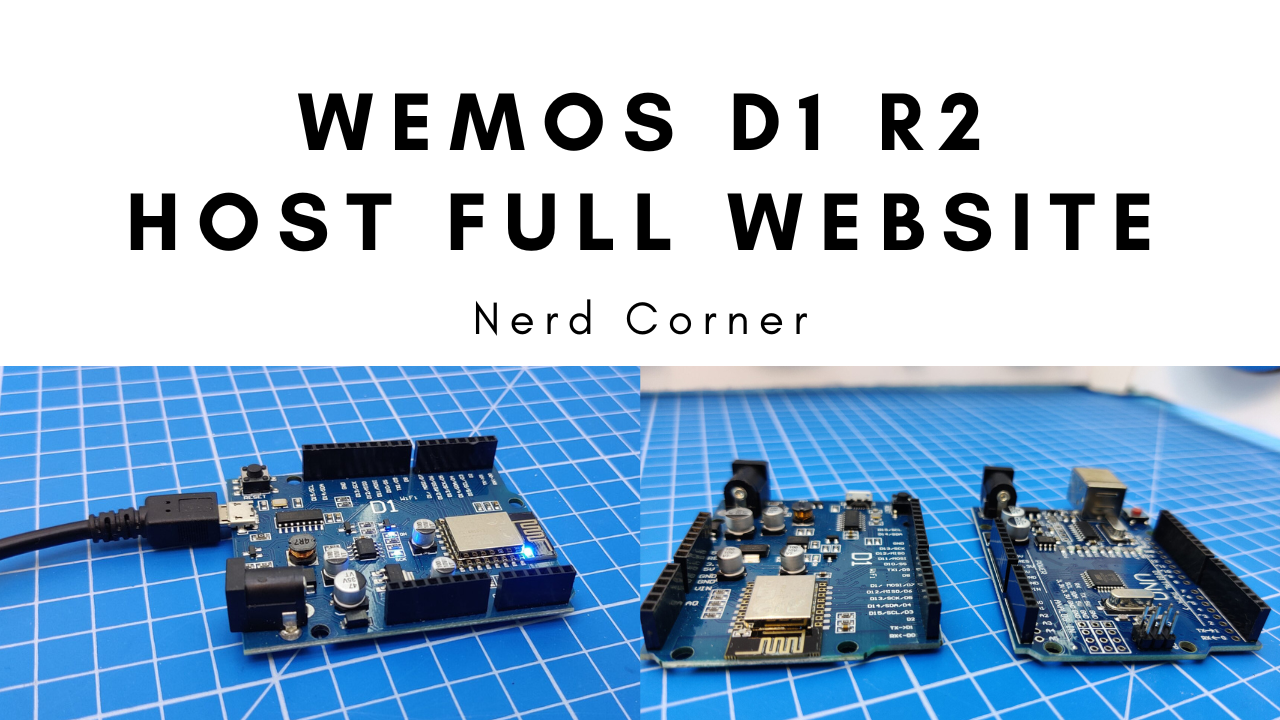
The first part of the WeMos series explained the setup and Wi-Fi integration. Building on this, this article describes step by step how to host a complete website with HTML pages, CSS styling and JavaScript functions on a WeMos. The whole thing is pretty simple and incredibly helpful! I can’t believe how hard it is to find proper instructions for this important function anywhere on the internet.
I often see blog articles where the HTML code is embedded in the Arduino file. You can do this for a mini demonstration, but it’s complete rubbish for everyday use. It is far too confusing and as soon as the project grows it is no longer usable.
The proper alternative is to set up a folder called “data” and store the web pages in this folder as html files. In addition, the styling is saved as a CSS file and functions can even be executed via a JavaScript file. So everything is 1:1 like on a normal web server!
This might also be interesting for you: WeMos D1 R2 first steps and Wifi integration
List of components
- Arduino IDE (development environment)
- WeMos D1 R2
The setup of the file system (officially SPIFFS) needs to be done once and is very easy:
(First you should have completed the basic setup from the first part!)
- Download a copy of the file “ESP8266FS-0.2.0.zip” from GitHub and unzip it
- Place the file esp8266fs.jar in the Arduino tool directory. The path looks like this: [home_dir]\Arduino\tools\ESP8266FS\tool\esp8266fs.jar (See picture) I had to create the path part tools\ESP8266FS\tool\ in the Arduino folder myself.

- Restart the Arduino IDE.
That’s it already! You can now see the new item “ESP8266 Sketch Data Upload” in the Arduino IDE under Tools.
How can I use the new file system now?
- Create an additional folder with the name “data” in your current WeMos project folder. As shown in the following image

- Place the files you want to upload in the ‘data’ directory
- In the Arduino IDE, select the WeMos in the ‘Tools’ menu and select a size for ‘Flash Size’
- Close the dialogue box for the serial monitor!
- Select the ‘ESP8266 Sketch Data Upload’ option from the ‘Tools’ menu.
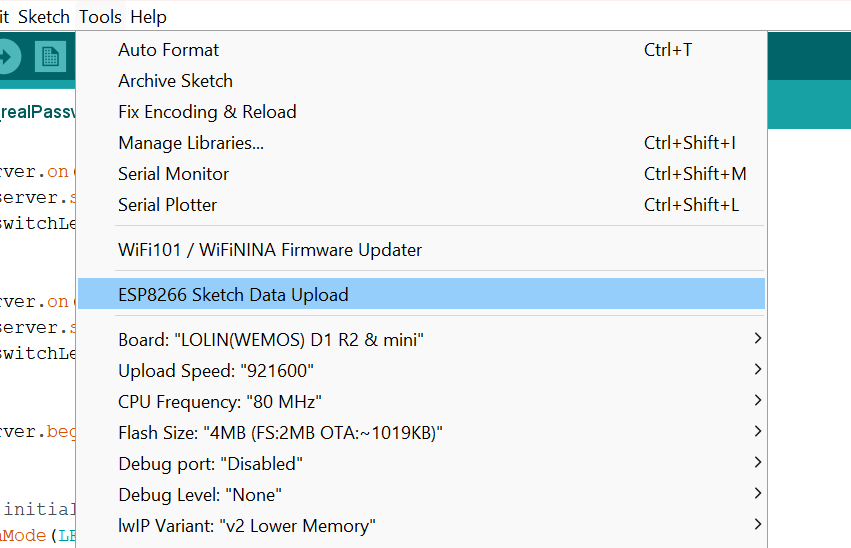
As soon as the upload is complete, the message window of the Arduino IDE shows 100% upload.
WeMos example programme for switching the OnBoard LED on and off
Similar to the first part, the web server will control the OnBoard LED. The code from the first part also serves as the basis. The revised code looks like this:
#include <ESP8266WiFi.h>
#include <ESP8266WebServer.h>
#include <ESP8266mDNS.h>

ESP8266WebServer server(80);

void setup() {
  Serial.begin(115200); //Baudrate
  Serial.println("ESP starts");

  WiFi.begin("NerdCornerWiFi","NerdCornerPassword");


  Serial.print("Connecting...");

  while(WiFi.status()!=WL_CONNECTED){ //Loop which makes a point every 500ms until the connection process has finished

    delay(500);
    Serial.print(".");
  }
  Serial.println();

  Serial.print("Connected! IP-Address: ");
  Serial.println(WiFi.localIP()); //Displaying the IP Address

  if (MDNS.begin("nerd-corner")) {
    Serial.println("DNS started, available with: ");
    Serial.println("http://nerd-corner.local/");
  }

  server.serveStatic("/", SPIFFS, "/", "max-age=86400");
  SPIFFS.begin();

  server.onNotFound([](){
    server.send(404, "text/plain", "Landing page not found! Don't forget to name your landing page 'index.html'!");
  });

  server.on("/led", HTTP_POST, []() {

    const String ledState = server.arg("ledstate");
    if(ledState=="on"){
      switchLedOn();
    }
    else if(ledState=="off"){
      switchLedOff();
    }
    server.send(200, "text/json", "{\"result\":\"ok\"}");
  });

  server.begin();
  // initialize digital pin LED_BUILTIN as an output.
  pinMode(LED_BUILTIN, OUTPUT);
}

void loop() {
  server.handleClient();
  MDNS.update();

}

void switchLedOff(){
  digitalWrite(LED_BUILTIN, HIGH);   // turn the D1 LED off
}

void switchLedOn(){
  digitalWrite(LED_BUILTIN, LOW);    // turn the LED on
}
I would like to point out a few special features. For example, we have added the following:
server.serveStatic("/", SPIFFS, "/", "max-age=86400");
SPIFFS.begin();
Without these two lines, access to the files in the “data” folder would not be possible. Please note that the name “index.html” is set as the default for the landing page. However, you can change this if you really want to.
server.on("/led", HTTP_POST, []() {

    const String ledState = server.arg("ledstate");
    if(ledState=="on"){
      switchLedOn();
    }
    else if(ledState=="off"){
      switchLedOff();
      }
      server.send(200, "text/json", "{\"result\":\"ok\"}");
  });
The “/led” endpoint receives the commands from the web server. If the command is “on”, the LED is switched on and if “off”, the LED is switched off.
Wemos website for switching the WeMos OnBoard LED on and off
The example website has a very simple structure. It primarily consists of 2 buttons for switching the LED on and off.
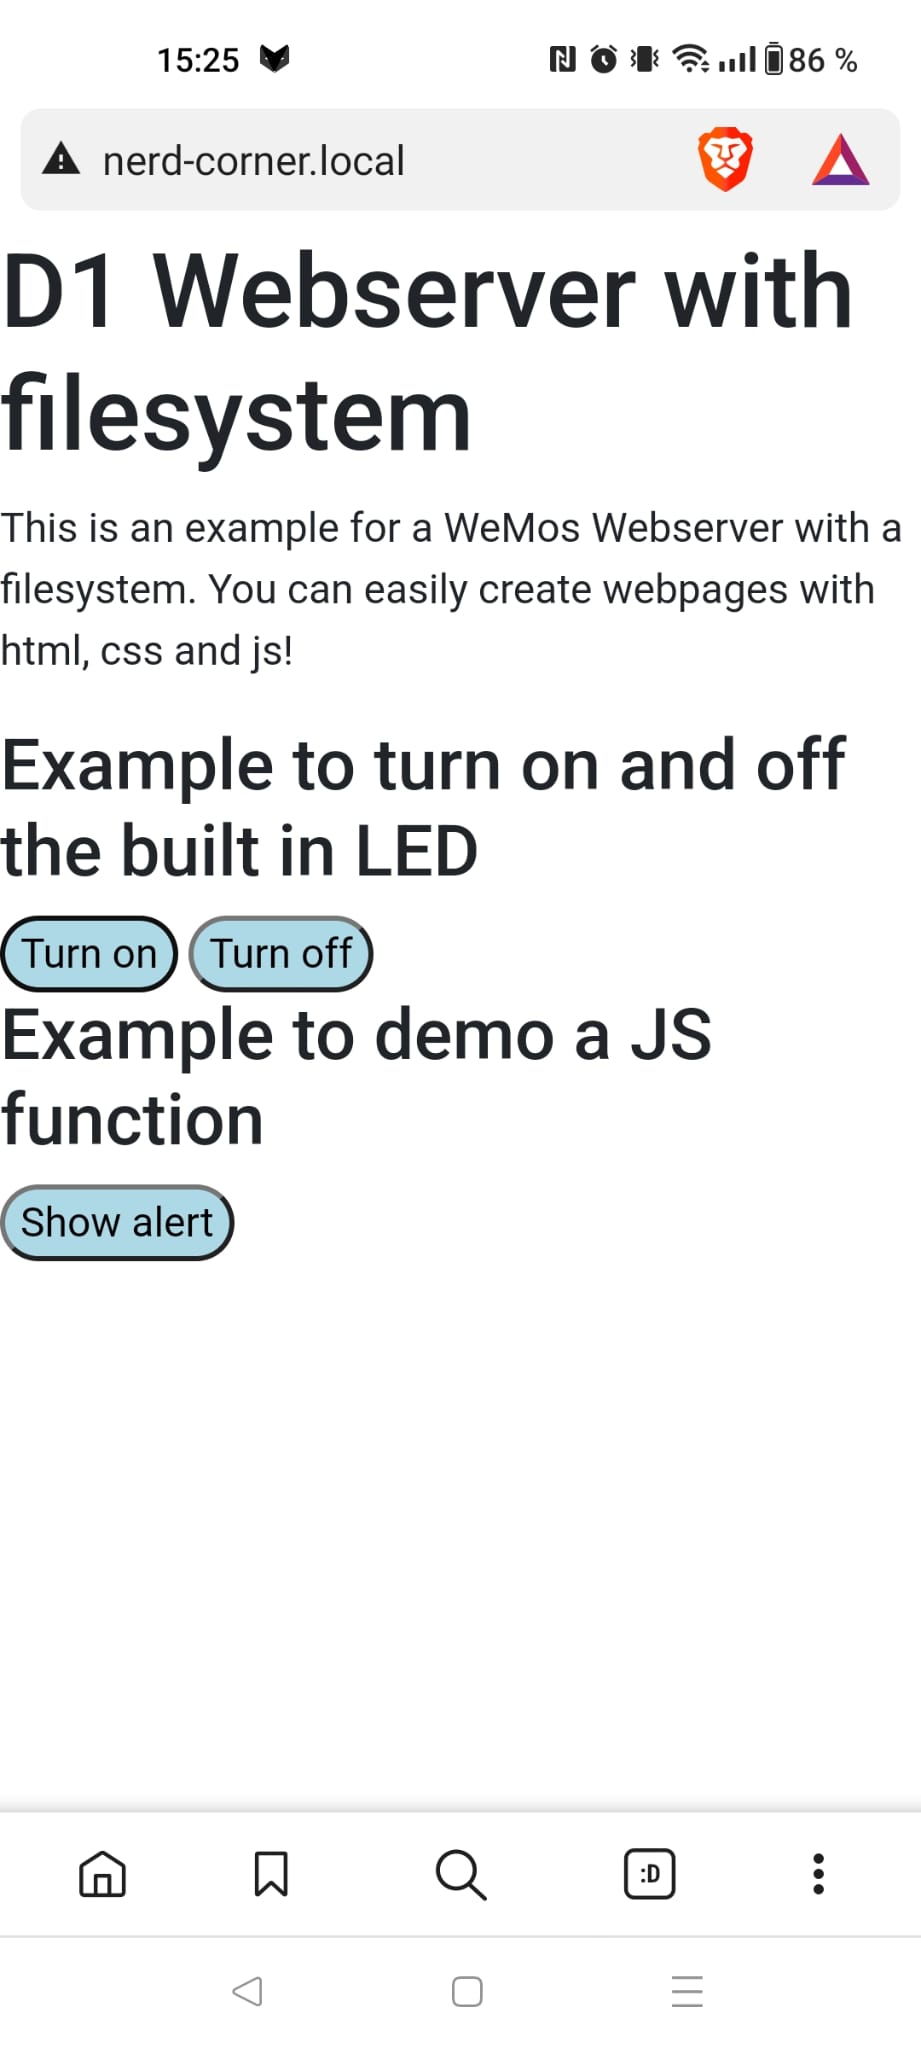
The folder structure of the website is very clearly organised. There is a main page with the name “index.html”. This name is common worldwide for the main pages and is also automatically recognised by WeMos. There is also a “CSS” folder for styling and a “JS” folder for functions.

We link the styles in the header area of the website. There is a standard bootstrap, which automatically makes everything a bit nicer, and a custom styles file with my own customisations. The functions of the website are also linked in the header area. I use the jQuery standard to send requests from the website to the WeMos. My own custom functions are in the “index.js”.
Please note that the jQuery file must be included BEFORE your own file, otherwise no jQuery commands can be used in your own code! The custom functions are then used by the buttons. The HTML code of the page looks as follows:
<!DOCTYPE html>
<html lang="en"></html>
<html>
  <head>
    <meta charset="utf-8" />
    <meta
      name="viewport"
      content="width=device-width, initial-scale=1, shrink-to-fit=no"
    />
    <script type="text/javascript" src="js/jquery-3.5.1.min.js"></script>
    <script type="text/javascript" src="./js/index.js"></script>
    <link rel="stylesheet" href="css/bootstrap.min.css" />
    <link rel="stylesheet" href="css/custom-style.css" />
    <title>D1 Webserver</title>
  </head>
  <body>
    <h1>D1 Webserver with filesystem</h1>
    <p>
      This is an example for a WeMos Webserver with a filesystem. You can easily
      create webpages with html, css and js!
    </p>

    <h3>Example to turn on and off the built in LED</h3>
    <button class="button-style" onclick="changeLEDState('on')">Turn on</button>
    <button class="button-style" onclick="changeLEDState('off')">
      Turn off
    </button>

    <h3>Example to demo a JS function</h3>
    <button class="button-style" onclick="showAlert()">Show alert</button>
  </body>
</html>
Special attention is paid to the JavaScript function “changeLEDState(value)”
function changeLEDState(value) {
  $.post("/led", { ledstate: value });
}
Because jQuery is used for communication with the WeMos, a simple dollar sign with the corresponding request command is sufficient. A value is also sent with this POST request, which is either “on” or “off” to switch the LED on and off.
The web page can be downloaded as a zip file below.

