
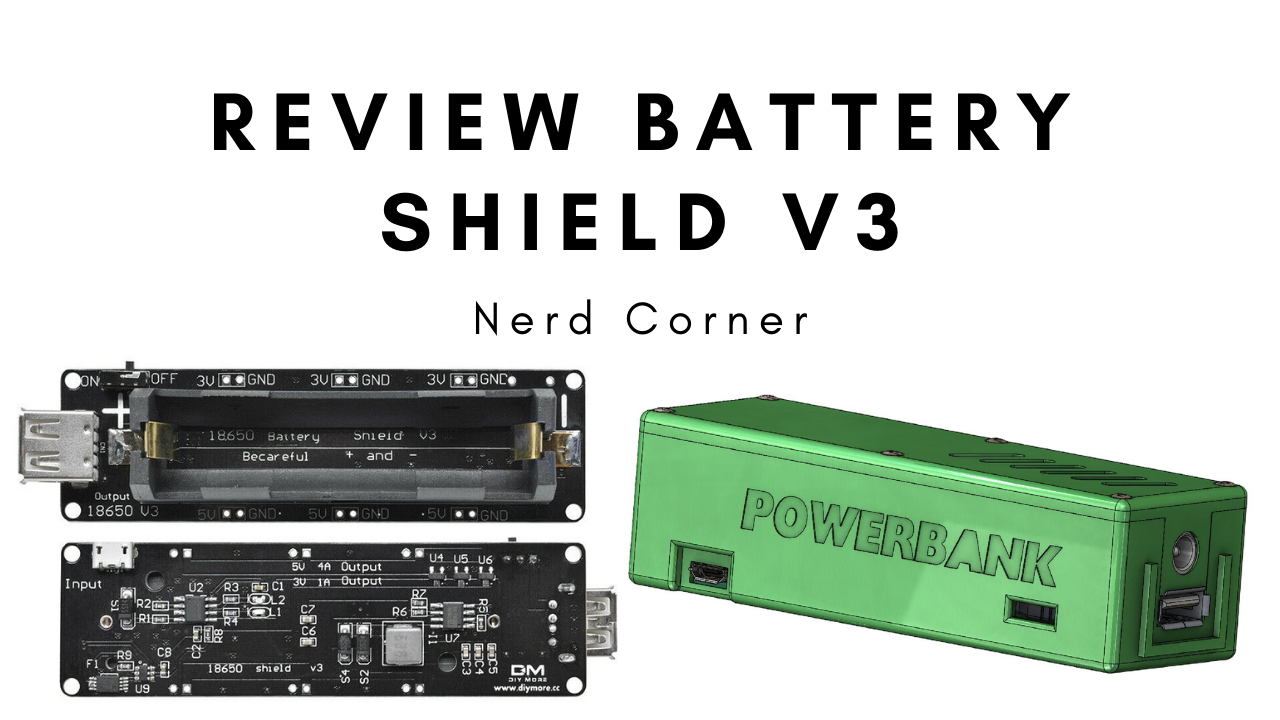
I was looking for a battery with a battery management system for my outdoor projects (weather station, irrigation system, etc.). While browsing online stores, I came across a cheap module for the power supply of my outdoor projects. Normally several components are necessary for an independent power supply (LiPo charger, battery holder, step down, step up, solar panel). However, the “Battery Shield V3” takes over most of these tasks. For my use cases (Ardunio + sensors) the provided 5V and 3V outputs are ideal! Here is my review of the Battery Shield V3.
This might also be interesting for you: Development of a step-down module

List of components:
- 1x Battery Shield V3
- 1x LiPo 18650

Analysis of the Battery Shield V3
After the Battery Shield V3 arrived, the first thing I had to do was examine its properties in detail. I thought about the tests beforehand and they were primarily based on my use cases. Since I am of course not a research institute, I kept the tests as simple as possible.

First, I tested the main function, which is charging a LiPo battery. The charging process on the module is indicated by a LED. Red means that the battery is charging and green signifies that charging is complete. Unfortunately, the LEDs are located on the bottom of the module and are therefore not easily visible.
According to the information provided by the manufacturer or the online retailer, the charging voltage is 4.2 V and the charging current is 500 mA. To verify these values, I measured and noted the state of charge of the inserted battery. The state of charge was approximately at 1100 mAh. The total capacity of the battery is 3000 mAh. It appears that the difference between fully charged and partially charged is 1900 mAh. To get the expected charging time, this value is divided by the 500 mA specified by the manufacturer. The calculated charging time is therefore 4 h. A standard power supply with 5V and 1A charging current is used as the power supply. In reality, the duration of charging was 4 h and 15 min. This is close to the theoretical value and thus okay.
Please note: Never use a brand new LiPo battery for this test, instead use one that already has some charge cycles completed. Otherwise, the result is not very meaningful.
Voltage testing in the Review Baterry Shield V3
In the second test, the different voltages provided by the module were examined. I divided this test into two phases. In the first phase (picture test 2_1) the module is used without a LiPo battery. Afterwards in the second phase a LiPo battery is used.
Of course, it is important to choose the right components to make the test as realistic as possible. For the USB-A connection I selected a load resistor with 1 A as well as with 2 A. This ceramic load resistor is ideal because a USB interface is available and the LED lights up green when 5 watts are consumed. At 10 watts the LED lights red.
For the 3 x 5 V outputs, I soldered 5V LED strips to two outputs and the third 5V output has a step-down module LM2596S which I constructed and set to 2V to power a 10 mm RGB Led. 3 V LEDs were soldered to each of the 3 x 3 V outputs. For this test a 5 V (18 Watt) power supply was used.
The module operating without LiPo battery

After connecting the consumers and the power supply, not much happened. Only the module-internal LED lit up red. Only when I deactivated the ceramic load resistor one of the 5 V LED strips and the RGB diode connected to the step-down (marked yellow in picture Test2_1) lit up.
Subsequent measurement of the outputs revealed the following values: A voltage of 3.24 V was measured for the 5 V outputs and 2.28 V for the 3 V outputs. The total current supply of the module without the LiPo battery inserted is about 11 mA. This should be sufficient for a small LED.
The module with LiPo battery

For phase 2 all consumers were removed and a LiPo battery (SAMSUNG INR18650-35E SDI KL59) was inserted into the module. As shown in the pictures, connectors were attached. This is because this module does not have a switch for the LiPo battery, so the load is immediately applied to the LiPo battery. It is simply uncomfortable to insert or plug in a battery under load.
All loads are in full mode in phase 2 and work fine. In addition, even the LiPo battery is charged. Questionable are the 4A amperage specifications of the 5V outputs. Given the amp numbers of the LiPo battery, this is possible, but it seems very high for a USB Micro supply. My recommendation would be to use the module with less than 4 amps.
Deep discharge protection
The third and last test is rather trivial. To test the deep discharge protection, only the ceramic load resistor with 5 watts was activated and no power supply was connected. This discharged the LiPo battery and if the deep discharge protection of the module terminates the discharge process on its own, the test was successful. This was the case. There was enough remaining capacity. However, such stress situations for the LiPo battery should still be avoided.
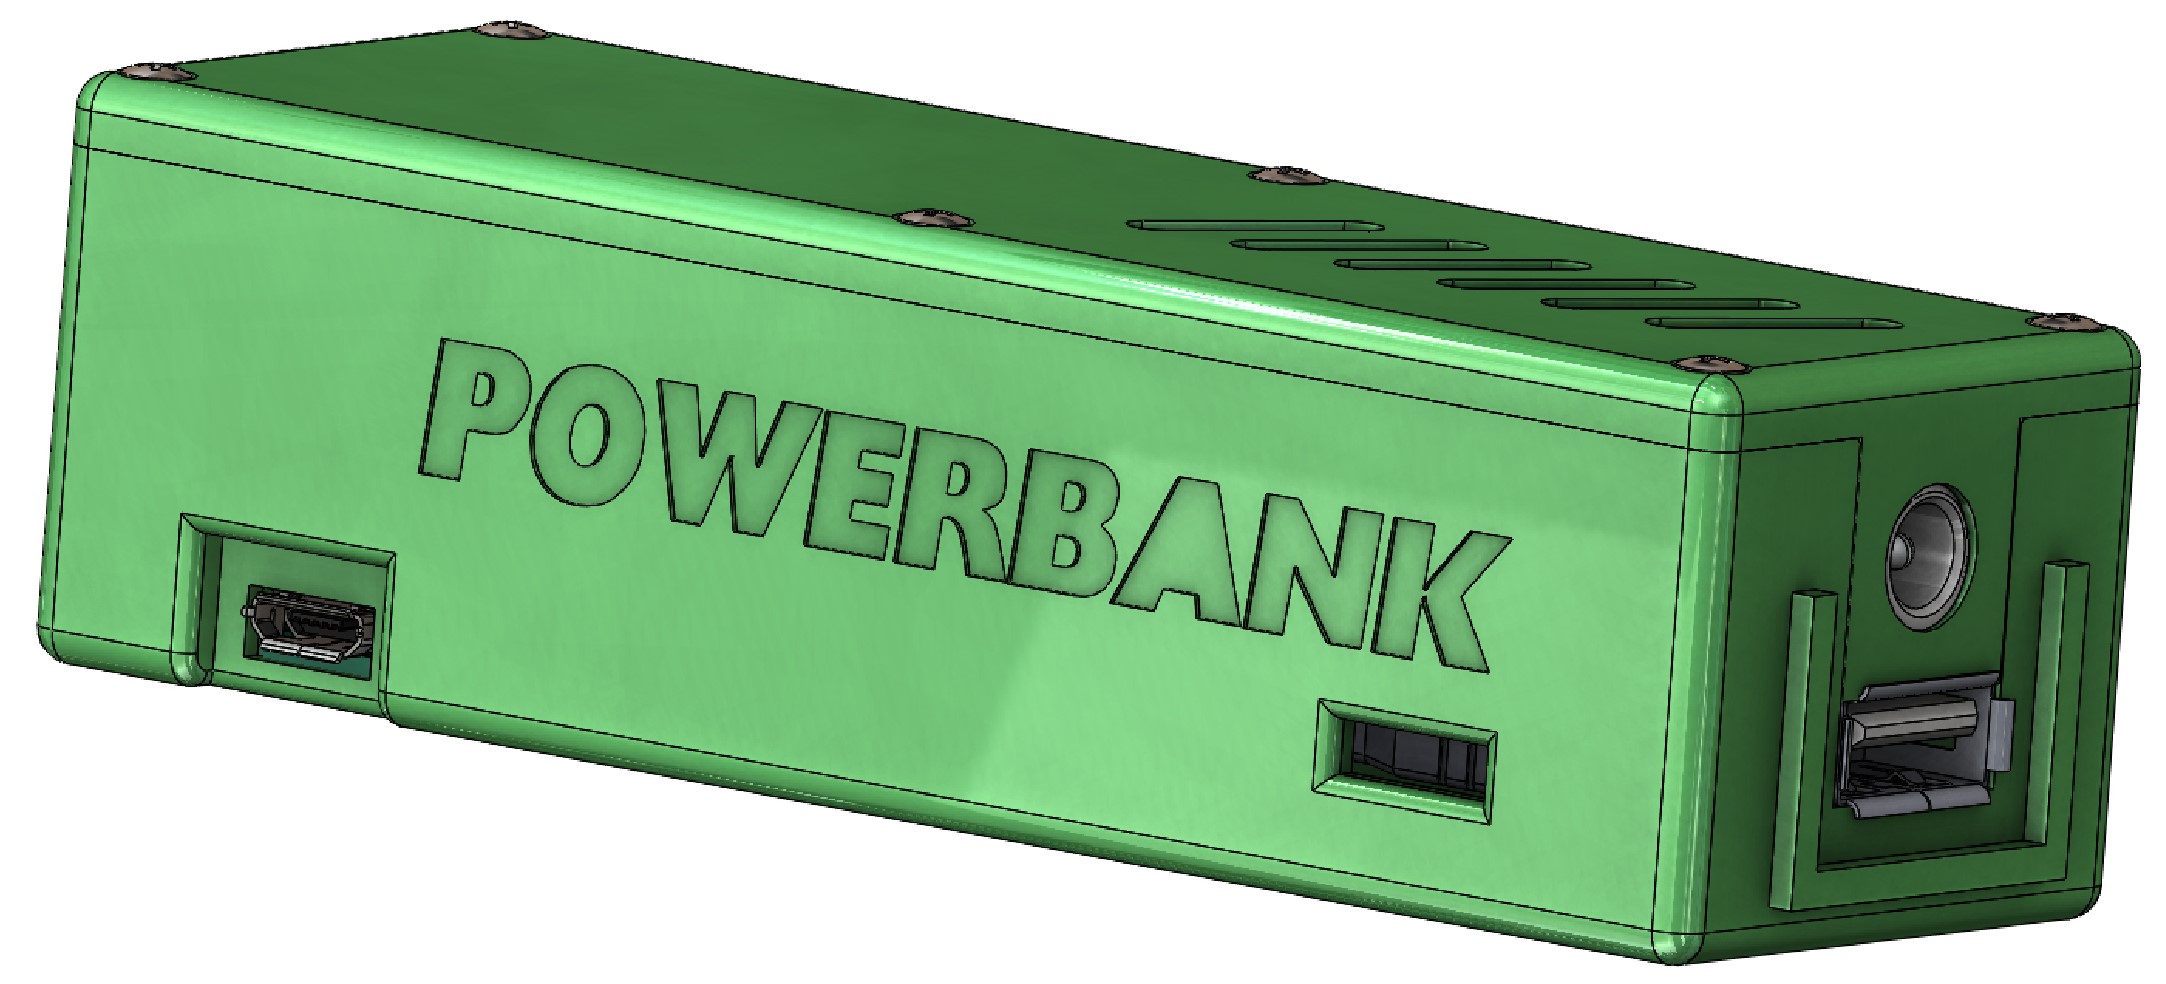
Casing for the Battery Shield V3

Of course I couldn’t resist to build a case for the Battery Shield V3 module. Beside the normal 5V USB output, which can be switched on and off by an extra switch, I also constructed a constant 3V output with a 5,5 x 2,1 socket into the case.
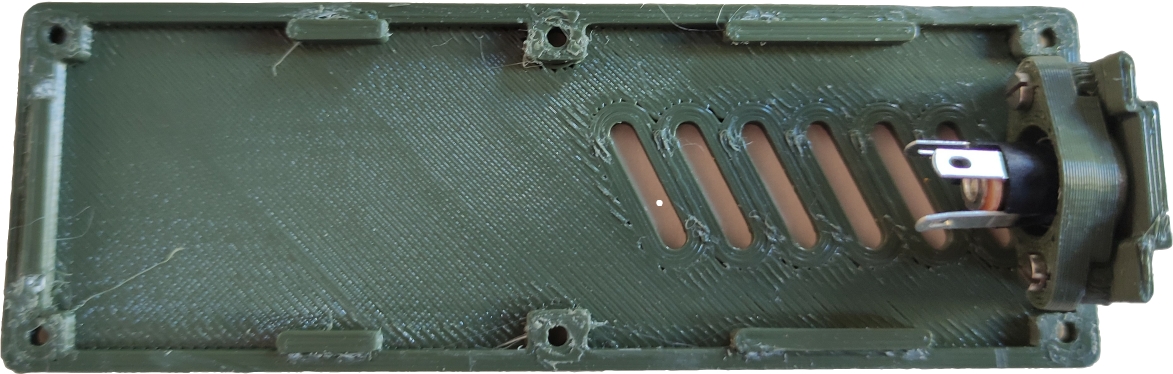
The housing can be downloaded in STL format at the end of the blog post.

Minor disadvantages
The On/OFF switch only switches the USB port. The 3 x 3 V and 3 x 5 V solder pins cannot be switched on and off by this switch.
For my electronic projects this disadvantage is not really dramatic, because I use mostly the USB port. Besides, additional switches can be soldered to the soldering points.


3 thoughts on “Review Battery Shield V3 – DIY Powerbank with LiPo 18650”