For one project, I spent a lot of time preparing cables (cutting, stripping, twisting, and applying solder to the strands). For prototypes, on the other hand, I usually prefer jumper cables. I have often thought that it would be incredibly practical to use jumper cables in the final product as well.
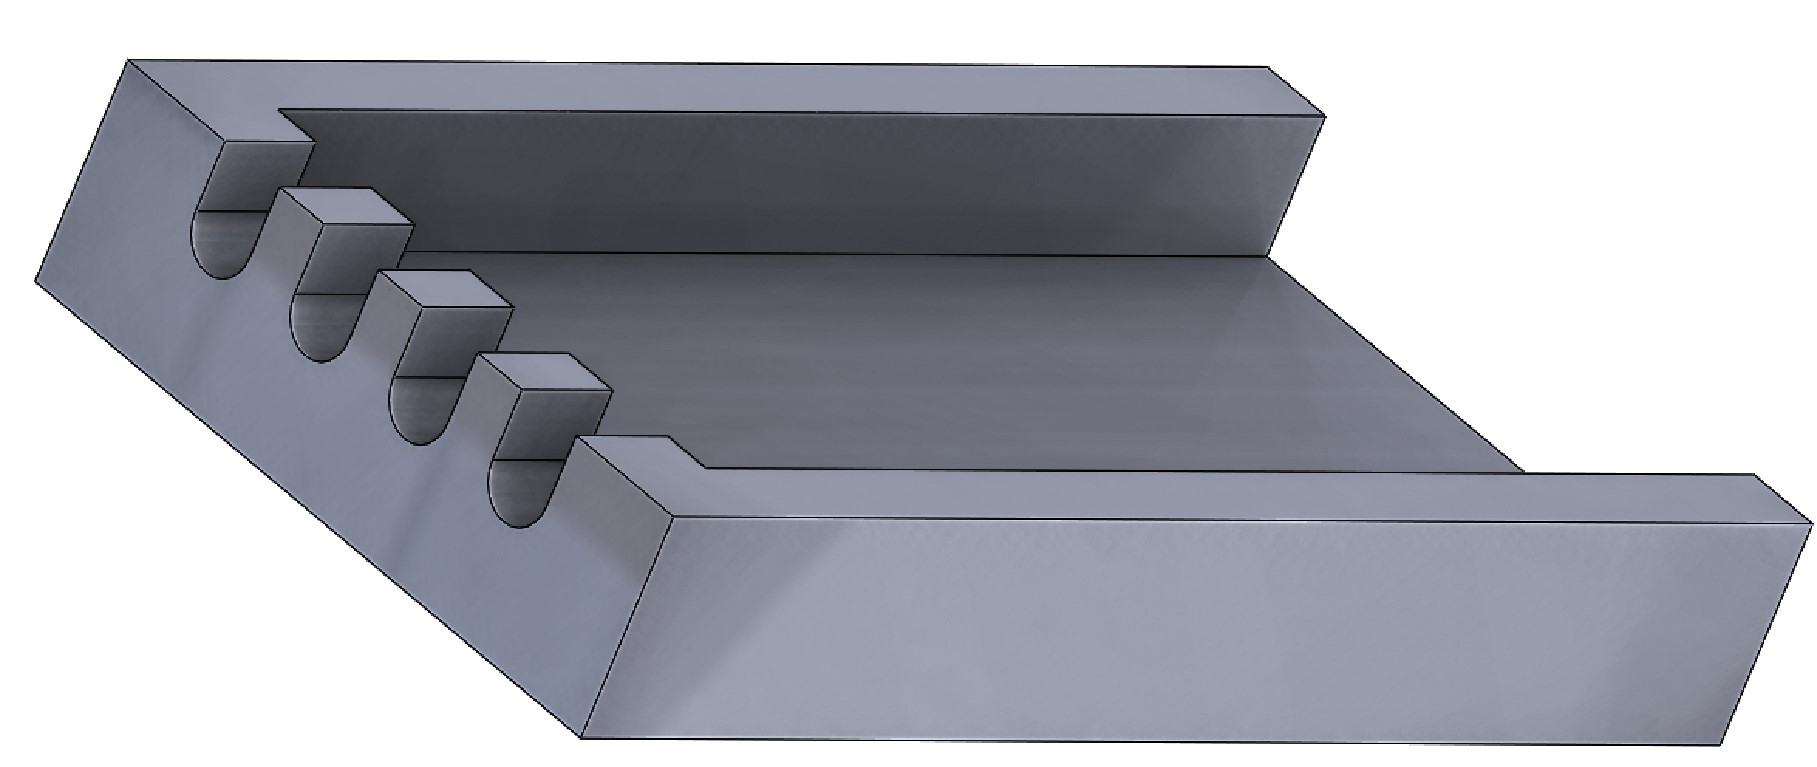
That’s why I designed a quick connector in CAD that makes it very easy to solder jumper cables. The connector serves as an ideal soldering aid. Of course, the wire diameter must be sufficient for the required number of amperes! On the market there are mainly inferior connectors. My STL file on the other hand is cheap and works perfectly.
This might also be interesting: Universal connector housing!
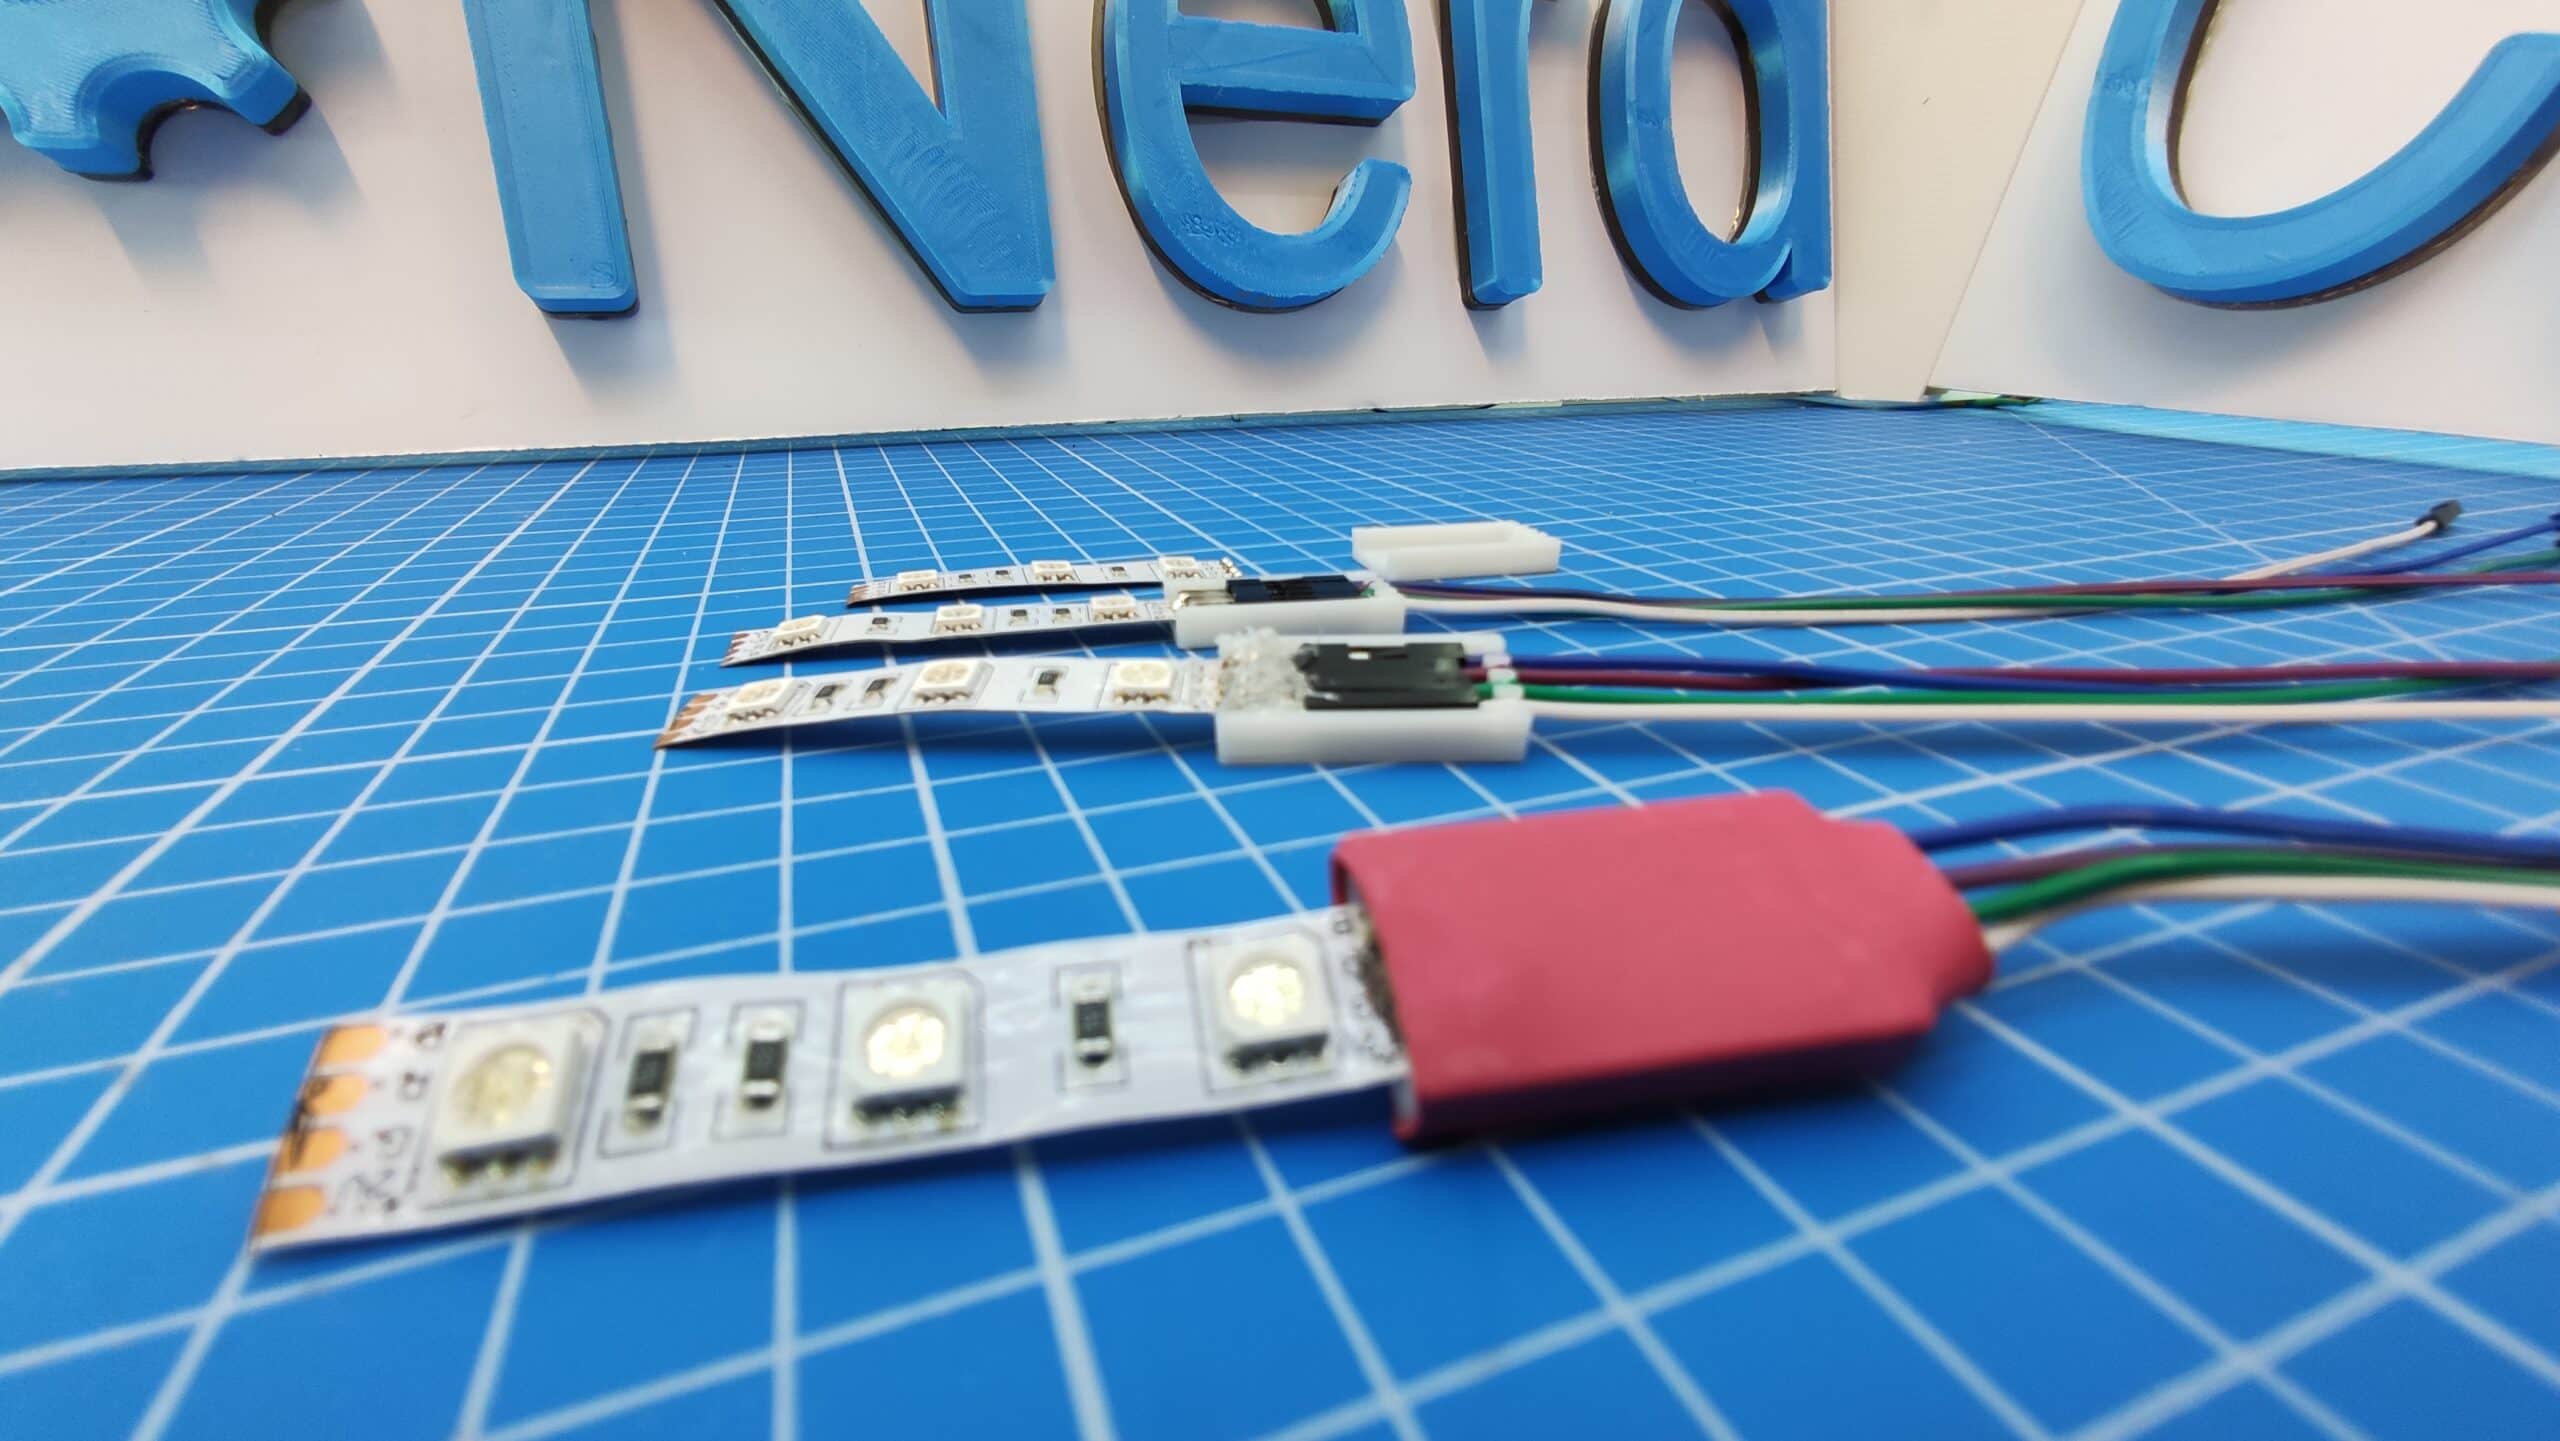
List of components
- 4 Pin RGB LED Strip
- Jumper cable
- Heat shrink tubing
- Hot Glue
Project application
For a larger project I needed 16 RGB strips with 21 LEDs each. The strips were pushed into a 3D printed socket afterwards. The LED strip was separated directly at the pre-marked point with a standard pair of scissors (usually the RGB strips are divisible after every third LED).
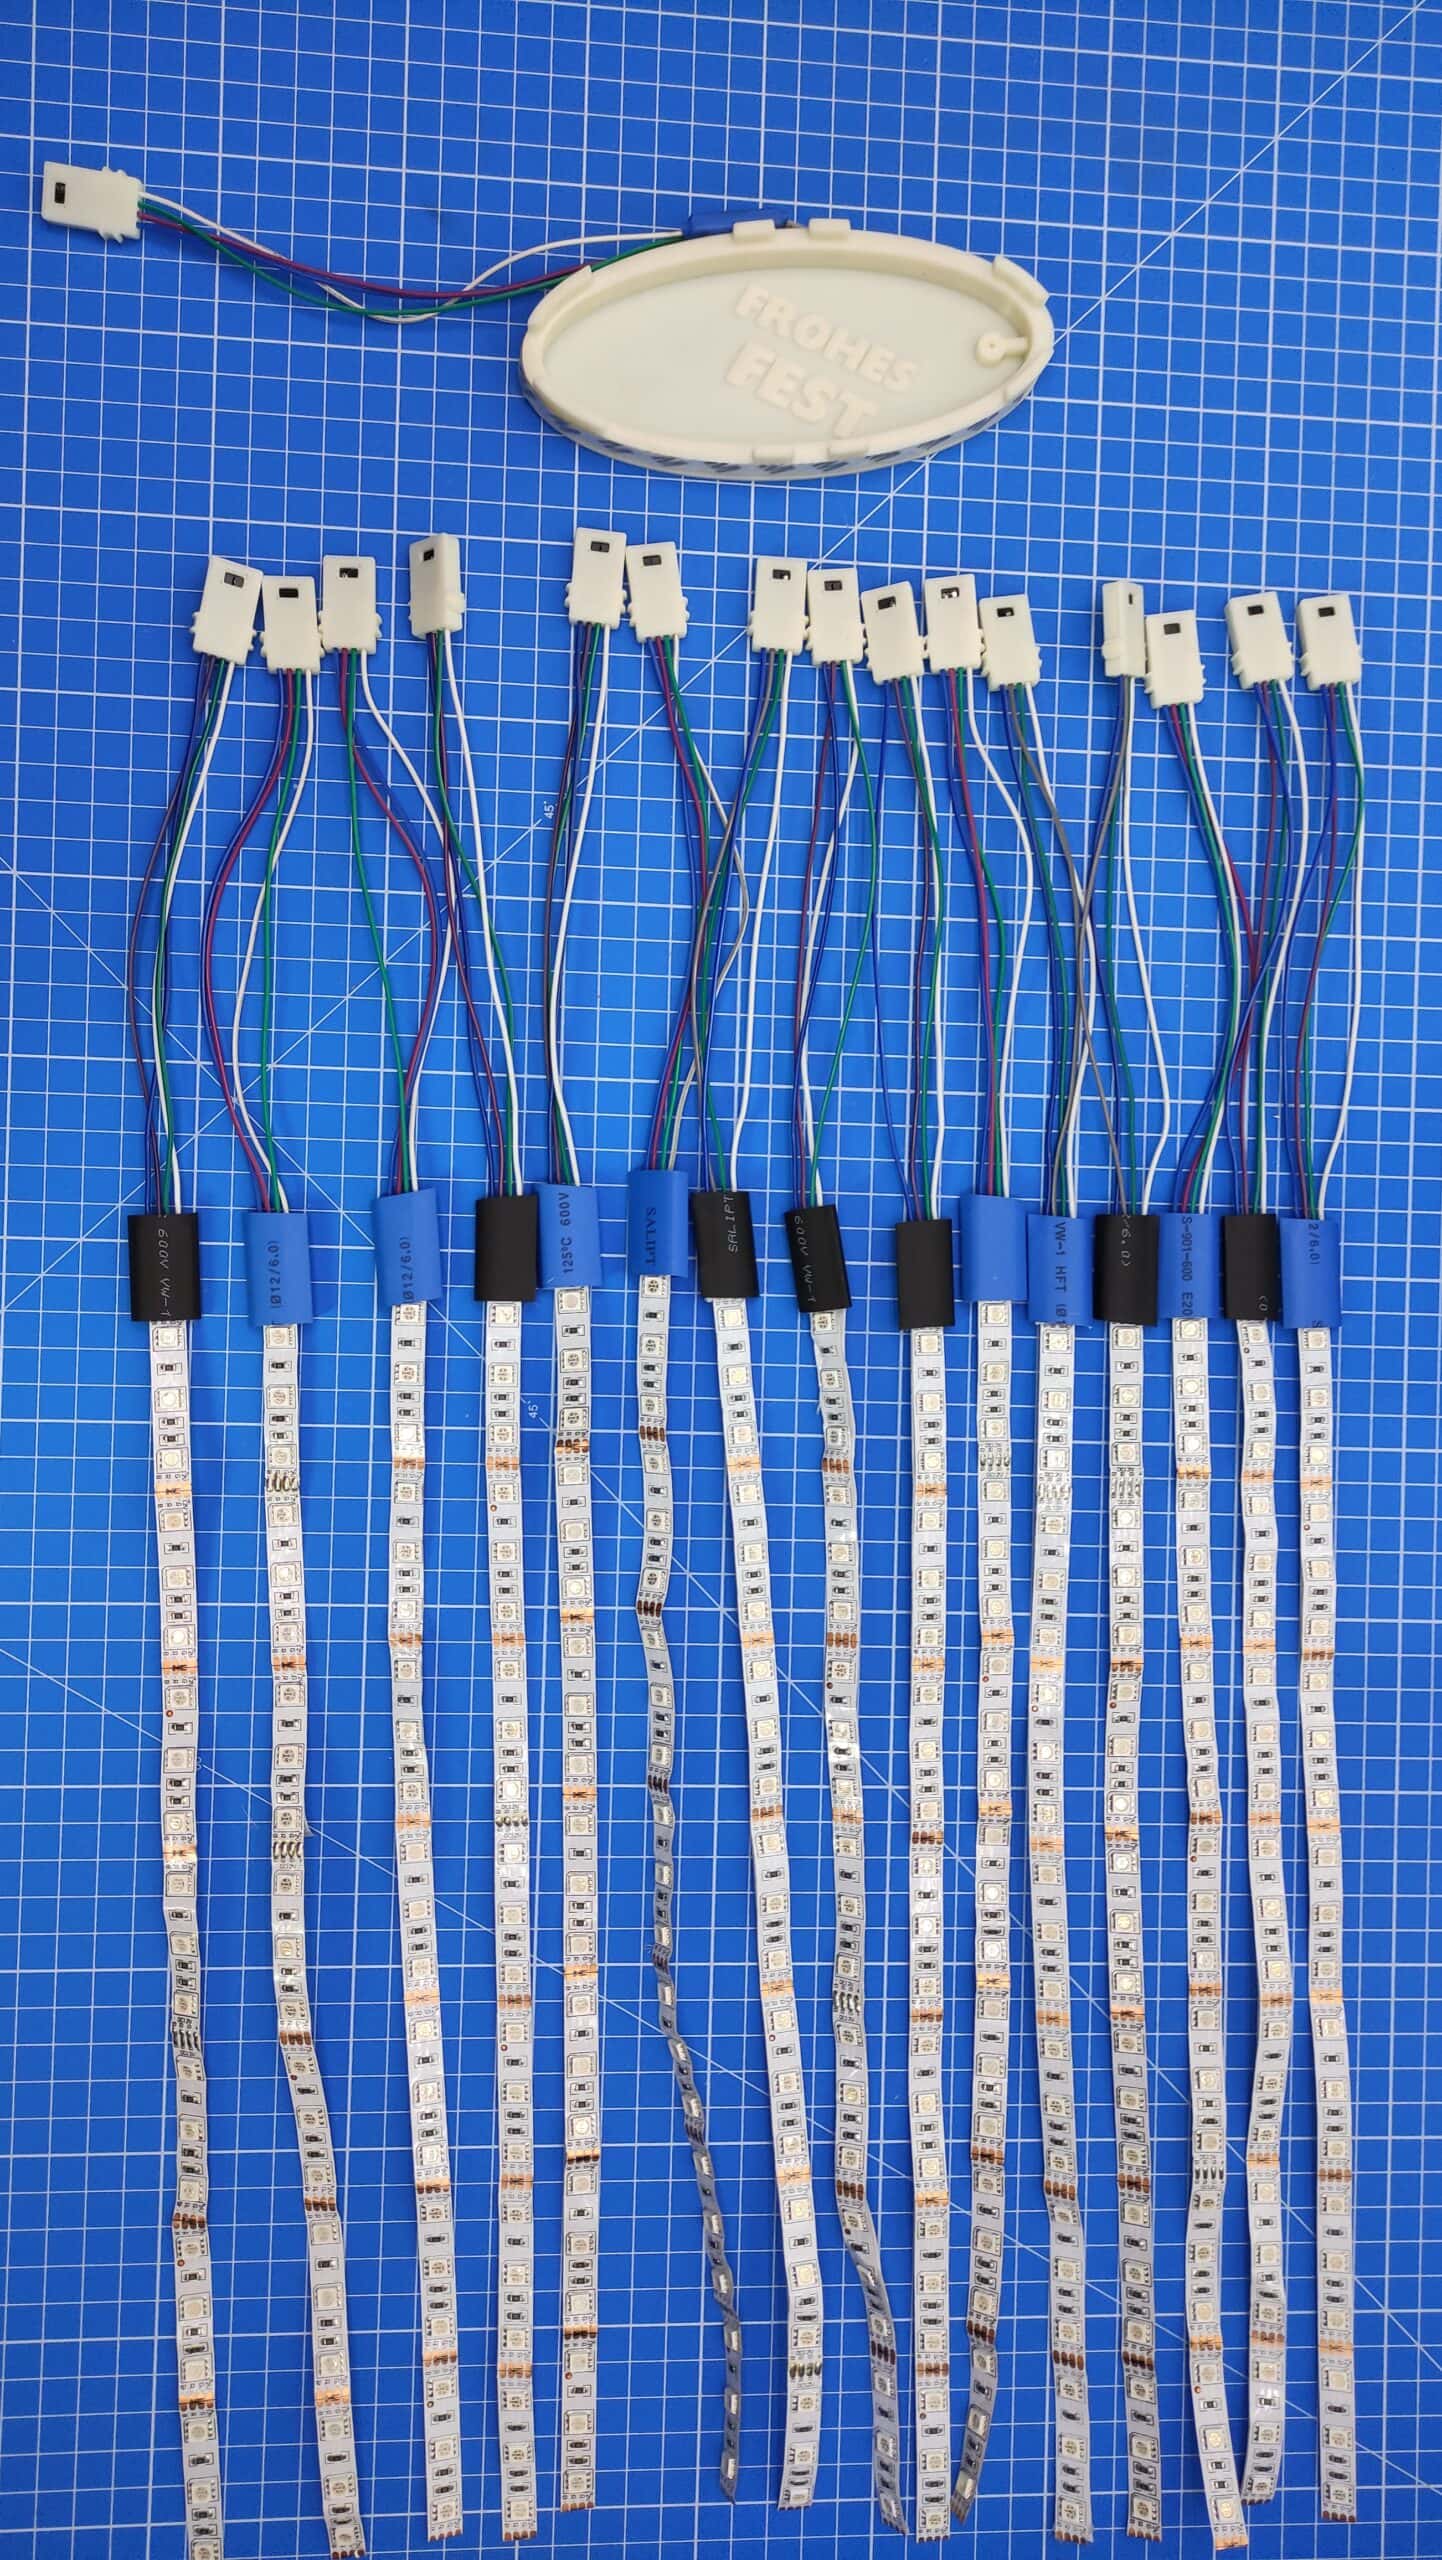
For the jumper cables I chose one side male and the other female. The side with the PINs (male) were soldered to the RGB strip and the socket (female) was used as a plug. It is crucial to use jumper cables with square housing (standard dimension: 2.54 mm). The length of the plastic housing does not matter. Depending on the brand, the plastic housings are 12 mm or 14 mm long.
Procedure
Since no preparatory work on the cables is necessary, soldering can be started directly. I prefer to apply solder to the RGB strip at the soldering points (copper layer) first. After that I solder the PINs to the soldering points without additional solder. The PINs should not be soldered too deep towards the LED and the alignment must fit.
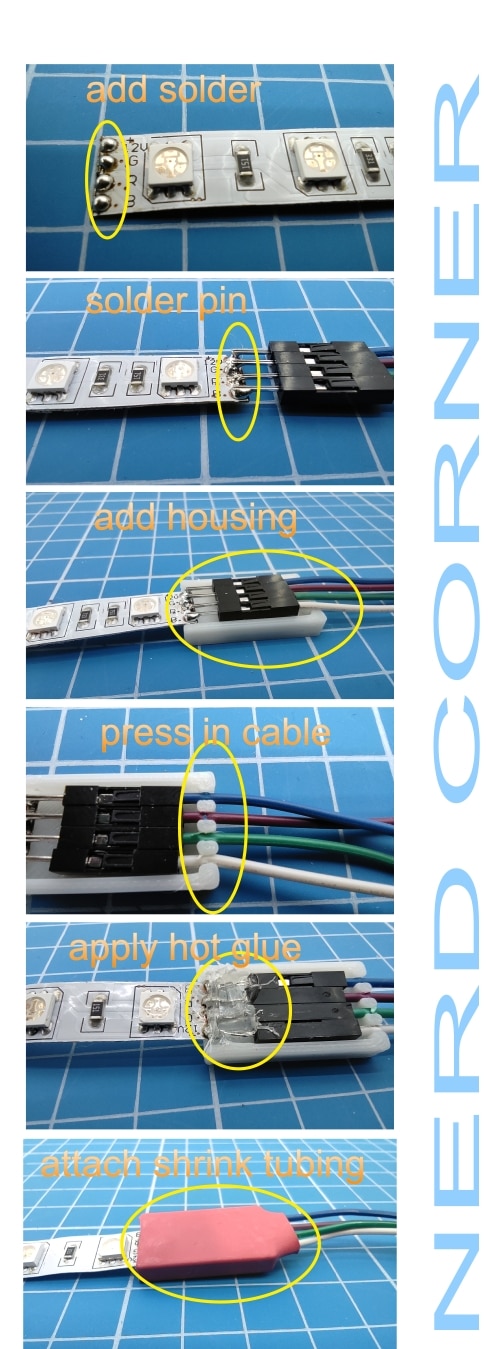
Then the connector comes into play. This connector is on the RGB side and open at the top. The RGB strip is inserted into the connector so that the solder joints are in the connector. Then the four cables are pressed into the slots and the solder joints are sealed with hot glue if necessary. For safety reasons, I recommend to attach a heat shrink tubing. This way you get a super strong connection!
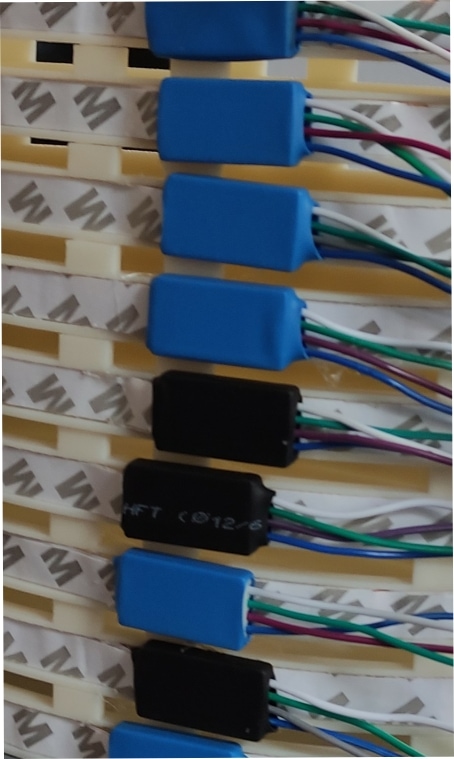
Steps in pictures
Advantages:
- No cable preparation
- Strong connection
- Easy 3D printing
Disadvantages:
- Requires more space
- STL file only for RGB strips with 10 mm width




Nice approach! I’m planning to use these.
One note about terms; might call these ‘strain reliefs’, the usual term for parts that protect connections against the strain of wires being pulled. Make it easier for people to find these.